Apache Solr
|
Install and configure a Solr Cloud (Embedded ZooKeeper)
-
Download and Install Apache Solr
Download Apache Solr: http://lucene.apache.org/solr/
Extract the file "solr-9.8.1.zip" in the folder you want to install Solr:/opt/solr-9.8.1
$ unzip solr-9.8.1.zip -d /opt/
Create a symbolic link of the Solr installation folder:
$ ln -s /opt/solr-9.8.1/ /opt/solr
Change the folders permissions (if needed):
$ chmod -R 755 /opt/solr-9.8.1/
$ sudo chown -R mtitek:mtitek /opt/solr-9.8.1/
$ sudo chown -R mtitek:mtitek /opt/solr
You should replace mtitek:mtitek with your actual user/group names.
-
Configuration files and environment variables
${SOLR_HOME}(orsolr.solr.home) represents the path of the Solr home directory:/opt/solr/server/solr
${SOLR_ROOT}represents the path of the Solr installation folder:/opt/solr/
Configuration files:
► "${SOLR_HOME}/solr.xml"
► "${SOLR_HOME}/zoo.cfg"
Solr home directory${SOLR_HOME}must contain asolr.xmlfile and azoo.cfgfile, otherwise Solr will fail to start.
By default, the data directory of the embedded ZooKeeper can be found in "${SOLR_HOME}/zoo_data". -
Start Solr
You can use the following command to start Solr (the Solr node won't be able to form/join a Solr Cluster):
$ /opt/solr/bin/solr start -c
You can start Solr and set adding additional JVM parameters (start Solr running in SolrCloud mode with 1g max heap size and remote Java debug options enabled):
$ /opt/solr/bin/solr start -c -m 1g -a "-Xmx1024m -Xdebug -Xrunjdwp:transport=dt_socket,server=y,suspend=n,address=1044"
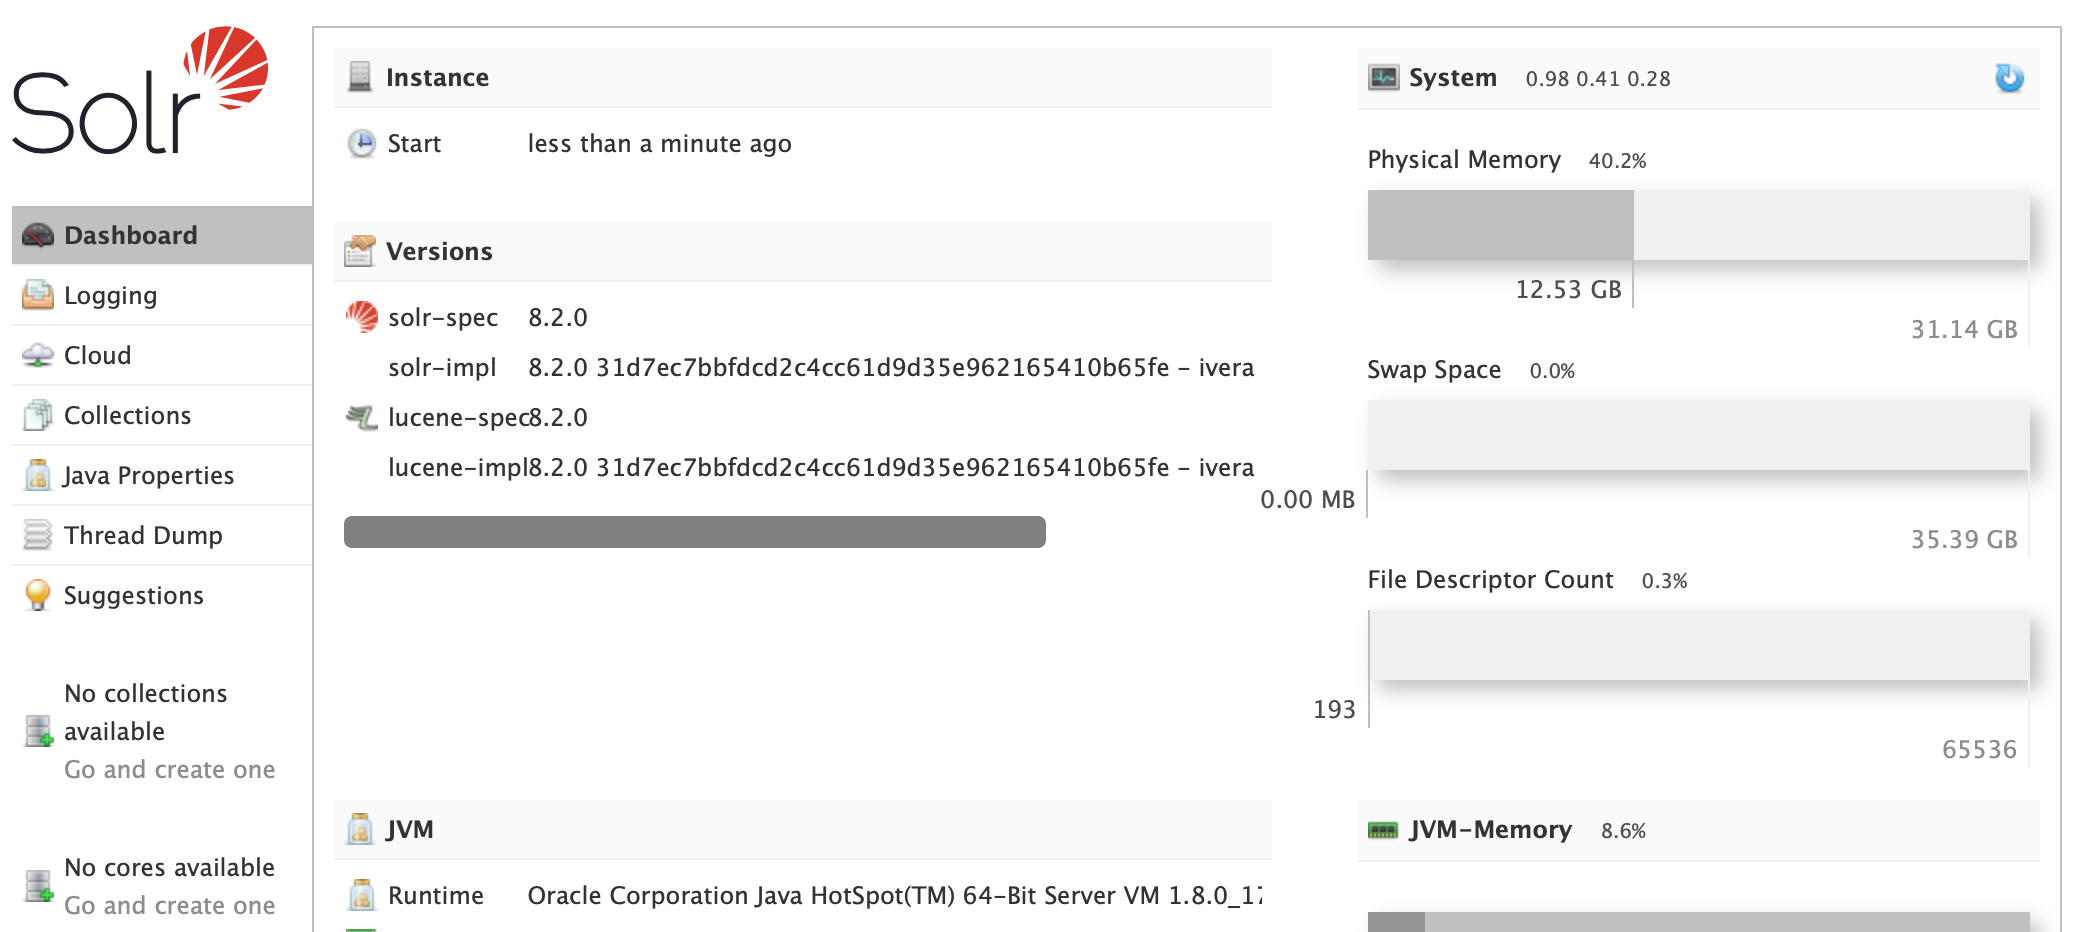
Access the Solr Admin UI: http://localhost:8983/solr
-
Stop Solr
Find and stop Solr server for which the HTTP listener is bound to the specified port:
$ /opt/solr/bin/solr stop -p 8983