Apache Solr
|
Overview: Standalone/SolrCloud
- Standalone/SolrCloud Modes
- Standalone Mode: Structure of the Solr home directory
- SolrCloud Mode: Structure of the Solr home directory
- "Collection", "Shard", "Replica", and "Core"
-
Standalone/SolrCloud Modes
Solr supports 2 modes:
StandaloneandSolrCloud.
The SolrCloud mode allows multiple running Solr instances to form a cluster.
When running Solr as a Standalone server, you will createcoresto save documents.
When running Solr Cloud, you will createcollectionsto save documents.
Environment variable: "${SOLR_HOME}"
-
Both Standalone and SolrCloud require a Solr home directory that contains the configuration of the running Solr instance along with its data.
-
"
${SOLR_HOME}" is the path to the Solr home directory; for example: "/opt/solr/server/solr".
Environment variable: "${SOLR_ROOT}"
-
"
${SOLR_ROOT}" is the path to the Solr distribution directory; for example: "/opt/solr".
-
Both Standalone and SolrCloud require a Solr home directory that contains the configuration of the running Solr instance along with its data.
-
Standalone Mode: Structure of the Solr home directory
Here's a typical structure of the Solr home directory when running Solr using the Standalone Mode:
|+ ${SOLR_HOME}/
   |+ solr.xml
   |+ core1/
      |+ core.properties
      |+ data/
         |+ index/
         |+ tlog/
         |+ snapshot_metadata/
      |+ conf/
         |+ solrconfig.xml
         |+ managed-schema
         |+ ...
   |+ core2/
   |+ ...
Notes:
${SOLR_HOME}/solr.xml
This file contains the configuration parameters of the Solr instance.
Solr home directory${SOLR_HOME}must contain asolr.xmlfile, otherwise Solr will fail to start.
$ vi /opt/solr/server/solr/solr.xml
<?xml version="1.0" encoding="UTF-8" ?>
<!--
"solr.xml" file allows configuring one or more Solr Cores,
as well as allowing Cores to be added, removed, and reloaded via HTTP requests.
-->
<solr>
    <int name="maxBooleanClauses">${solr.max.booleanClauses:1024}</int>
    <str name="sharedLib">${solr.sharedLib:}</str>

    <solrcloud>
        <str name="host">${host:}</str>
        <int name="hostPort">${jetty.port:8983}</int>
        <str name="hostContext">${hostContext:solr}</str>

        <bool name="genericCoreNodeNames">${genericCoreNodeNames:true}</bool>

        <int name="zkClientTimeout">${zkClientTimeout:30000}</int>
        <int name="distribUpdateSoTimeout">${distribUpdateSoTimeout:600000}</int>
        <int name="distribUpdateConnTimeout">${distribUpdateConnTimeout:60000}</int>
        <str name="zkCredentialsProvider">${zkCredentialsProvider:org.apache.solr.common.cloud.DefaultZkCredentialsProvider}</str>
        <str name="zkACLProvider">${zkACLProvider:org.apache.solr.common.cloud.DefaultZkACLProvider}</str>
    </solrcloud>

    <shardHandlerFactory name="shardHandlerFactory" class="HttpShardHandlerFactory">
        <int name="socketTimeout">${socketTimeout:600000}</int>
        <int name="connTimeout">${connTimeout:60000}</int>
        <str name="shardsWhitelist">${solr.shardsWhitelist:}</str>
    </shardHandlerFactory>
</solr>
${SOLR_HOME}/CORE-NAME/core.properties
This file contains information about the core, such as its name.
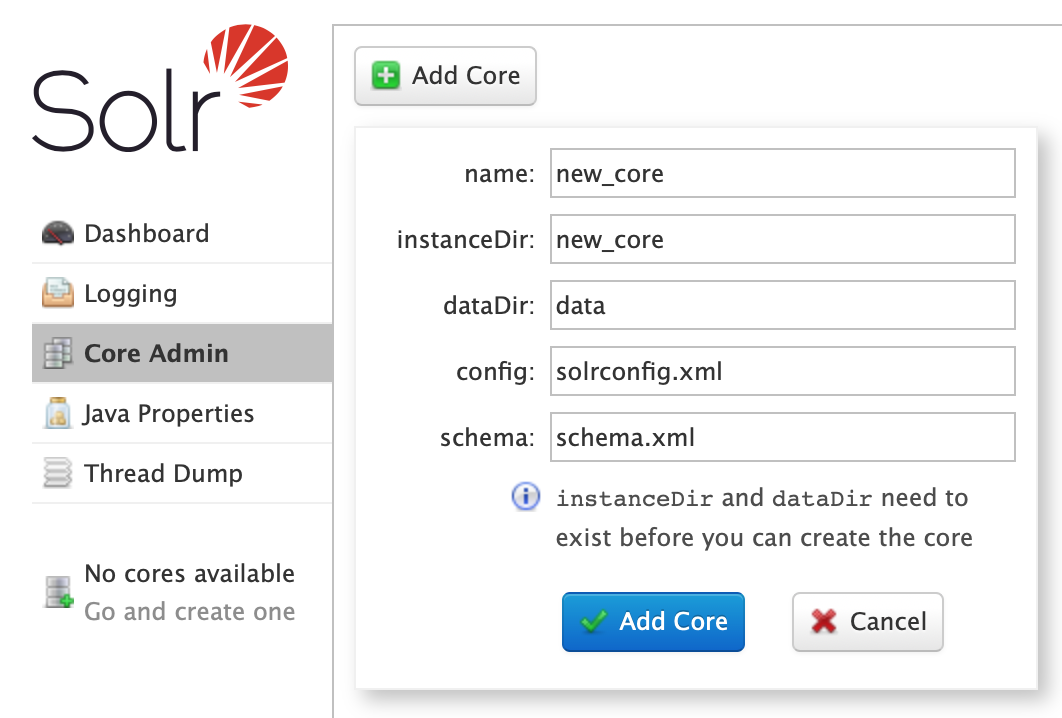
When you use the Solr API (or Solr UI) to create a new core, you can set the core directory name (instanceDir), the core name (name), the data directory (dataDir), the solr configuration file (config), the Solr schema file (schema).
The core directory and its configuration need to exist before you can create the core.
$ mkdir /opt/solr/server/solr/new_core
$ cp -r /opt/solr/server/solr/configsets/sample_techproducts_configs/conf /opt/solr/server/solr/new_core/
$ ls -1 /opt/solr/server/solr/new_core/
conf
core.properties
data
$ vi /opt/solr/server/solr/new_core/core.properties
name=new_core
config=solrconfig.xml
schema=schema.xml
dataDir=data
Note that when you use the Solr command line to create a new core, only the propertynameis added to thecore.propertiesfile.
The value of the propertynamewill be used to create the directory name of the core.
$ /opt/solr/bin/solr create_core -c new_core1 -d /opt/solr/server/solr/configsets/sample_techproducts_configs/conf/
$ cat /opt/solr/server/solr/new_core1/core.properties
name=new_core1
${SOLR_HOME}/CORE-NAME/data
This directory contains the index files.
${SOLR_HOME}/CORE-NAME/conf
This directory contains the configuration files.
-
SolrCloud Mode: Structure of the Solr home directory
Here's a typical structure of the Solr home directory when running Solr using the SolrCloud Mode:
|+ ${SOLR_HOME}/
   |+ solr.xml
   |+ zoo.cfg
   |+ collection1_shard1_replica_n1/
      |+ core.properties
      |+ data/
         |+ index/
         |+ tlog/
         |+ snapshot_metadata/
   |+ collection1_shard2_replica_n2/
   |+ ...
Notes:
${SOLR_HOME}/solr.xml
This file contains the configuration parameters of the Solr instance.
See above an example of a simple "solr.xml" file.
Solr home directory${SOLR_HOME}must contain asolr.xmlfile, otherwise Solr will fail to start.
${SOLR_HOME}/zoo.cfg
It contains the configuration parameters of the embedded ZooKeeper.
It is used only when running Solr in SolrCloude mode with an embedded ZooKeeper.
When running Solr with an embedded ZooKeeper, then Solr home directory${SOLR_HOME}must contain azoo.cfgfile, otherwise Solr will fail to start.
$ vi /opt/solr/server/solr/zoo.cfg
# The number of milliseconds of each tick.
tickTime=2000

# The number of ticks that the initial synchronization phase can take.
initLimit=10

# The number of ticks that can pass between sending a request and getting an acknowledgement.
syncLimit=5

# The directory where the snapshot is stored.
# NOTE: Solr defaults the dataDir to <solrHome>/zoo_data
# dataDir=/opt/zookeeper/data
${SOLR_HOME}/REPLICA-NAME/core.properties
This file contains the name of Solr configuration, collection, shard, and replica.
In the case of SolrCloud, this file will contain the name of Solr configuration, collection, shard, and replica.
$ vi /opt/solr/server/solr/collection1_shard1_replica_n1/core.properties
name=collection1_shard1_replica_n1
collection=collection1
collection.configName=solr_config1
numShards=2
shard=shard1
coreNodeName=core_node1
replicaType=NRT
${SOLR_HOME}/REPLICA-NAME/data
This directory contains the index files.
-
"Collection", "Shard", "Replica", and "Core"
When running Solr as a standalone server, the term "
Core" will refer to the complete logical index that will contain documents.
When running Solr in SolrCloud mode, the term "Collection" will refer to the complete logical index that will contain documents.
► A Collection can be split into many shards.
► A Shard will contain a subset of the documents in the index.
► A Shard can have many replicas (copies).
If you have a cluster of two or more Solr instances, each instance can hold a replica.
If one Solr instance goes down, another instance can serve clients' requests.
Note that, in SolrCloud mode, the term "Core" will be used to refer to the replica:
► You will notice that a file "core.properties" is created for each replica.
► Also, in the Solr Admin UI you will notice that there's a "Collection Selector" and "Core Selector" (and not a Shard or Replica selector).