Jenkins
|
Installation
- References
- Installation (Ubuntu 18.04)
- Change "
admin" password - Jenkins log files
- Start/Stop Jenkins
- How to disable the security
- How to enable the security
- Uninstallation
-
References
See this page for steps on how to install Jenkins on Ubuntu:
https://wiki.jenkins-ci.org/display/JENKINS/Installing+Jenkins+on+Ubuntu -
Installation (Ubuntu 18.04)
Add the jenkins package:
$ wget -q -O - https://pkg.jenkins.io/debian/jenkins-ci.org.key | sudo apt-key add -
$ sudo sh -c 'echo deb http://pkg.jenkins.io/debian-stable binary/ > /etc/apt/sources.list.d/jenkins.list'
$ sudo apt update
Create the user "jenkins":
Note that you can choose not to create this user manually, and Jenkins will create it if the installation completes without errors.
$ sudo useradd jenkins
$ sudo passwd jenkins

$ sudo mkdir /var/lib/jenkins

$ sudo chmod -R 755 /var/lib/jenkins
$ sudo chown -R jenkins:jenkins /var/lib/jenkins

$ sudo usermod --home /var/lib/jenkins/ --shell /bin/bash jenkins
Install Jenkins:
$ sudo apt install jenkins
If the installation completes without errors, Jenkins will be started.
The user 'jenkins' will run Jenkins as daemon (see /etc/init.d/jenkins).
By default Jenkins will listen on port 8080: http://localhost:8080
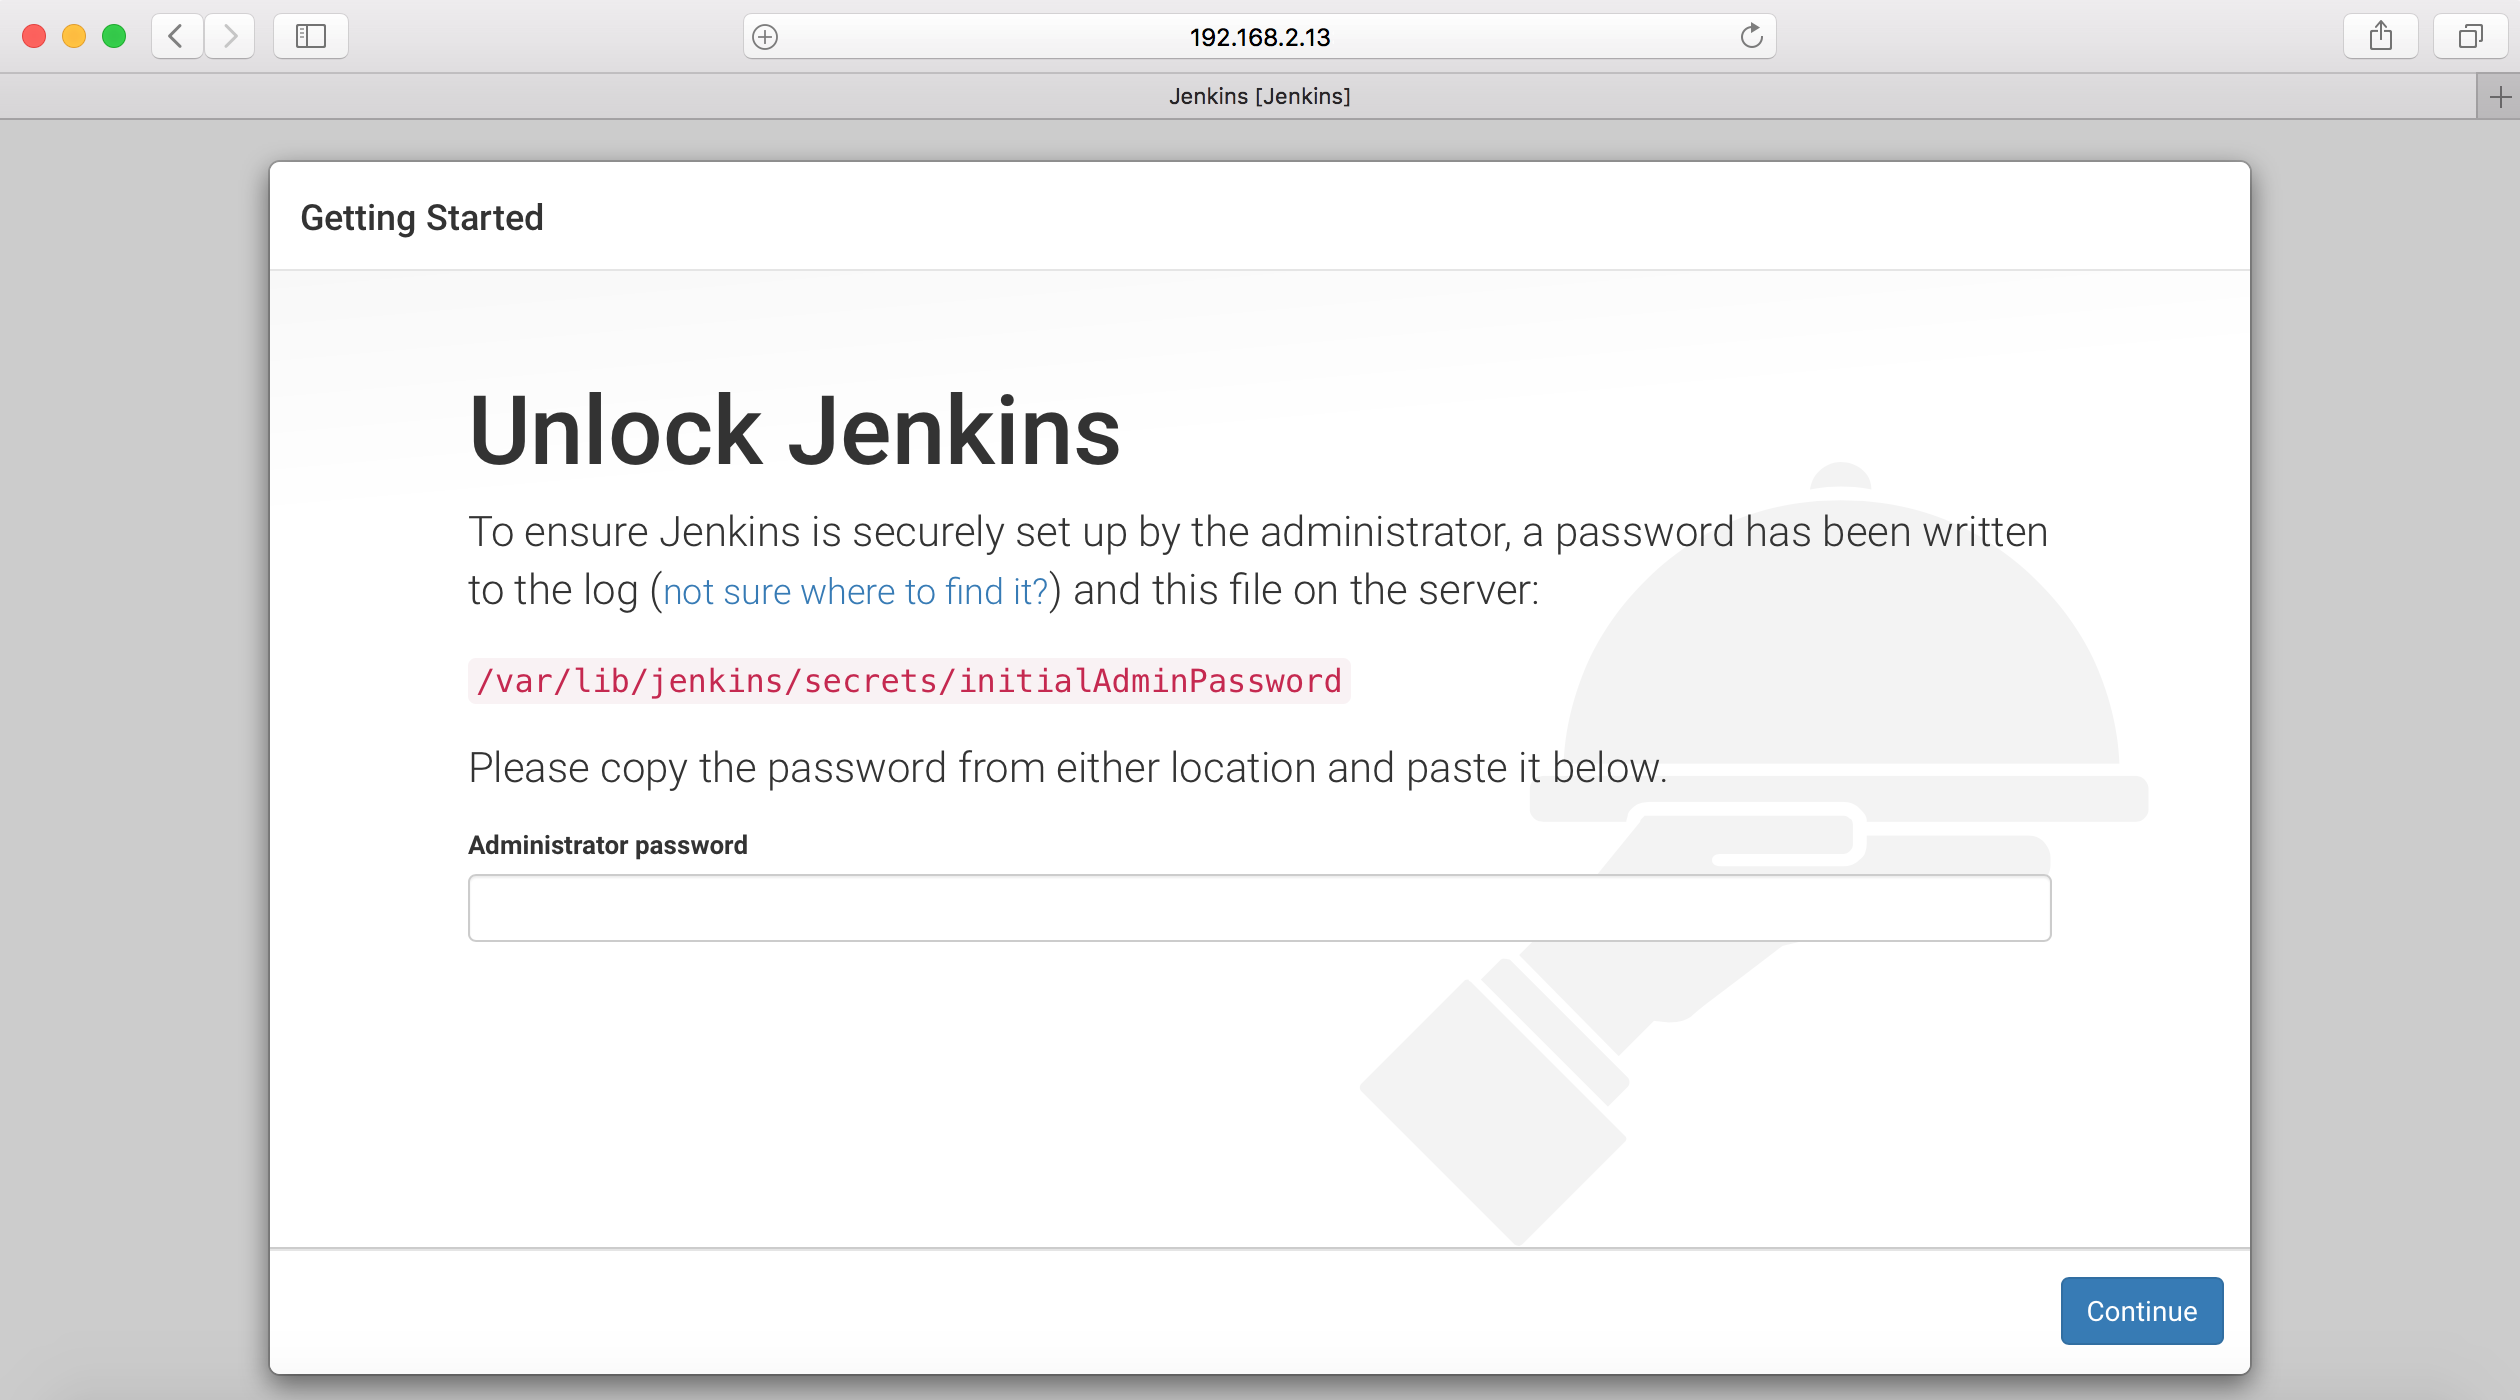
You need to provide the administrator password to unlock Jenkins.
You can find the administrator password in this file:/var/lib/jenkins/secrets/initialAdminPassword
Copy/past the administrator password and click the "Continue" button.
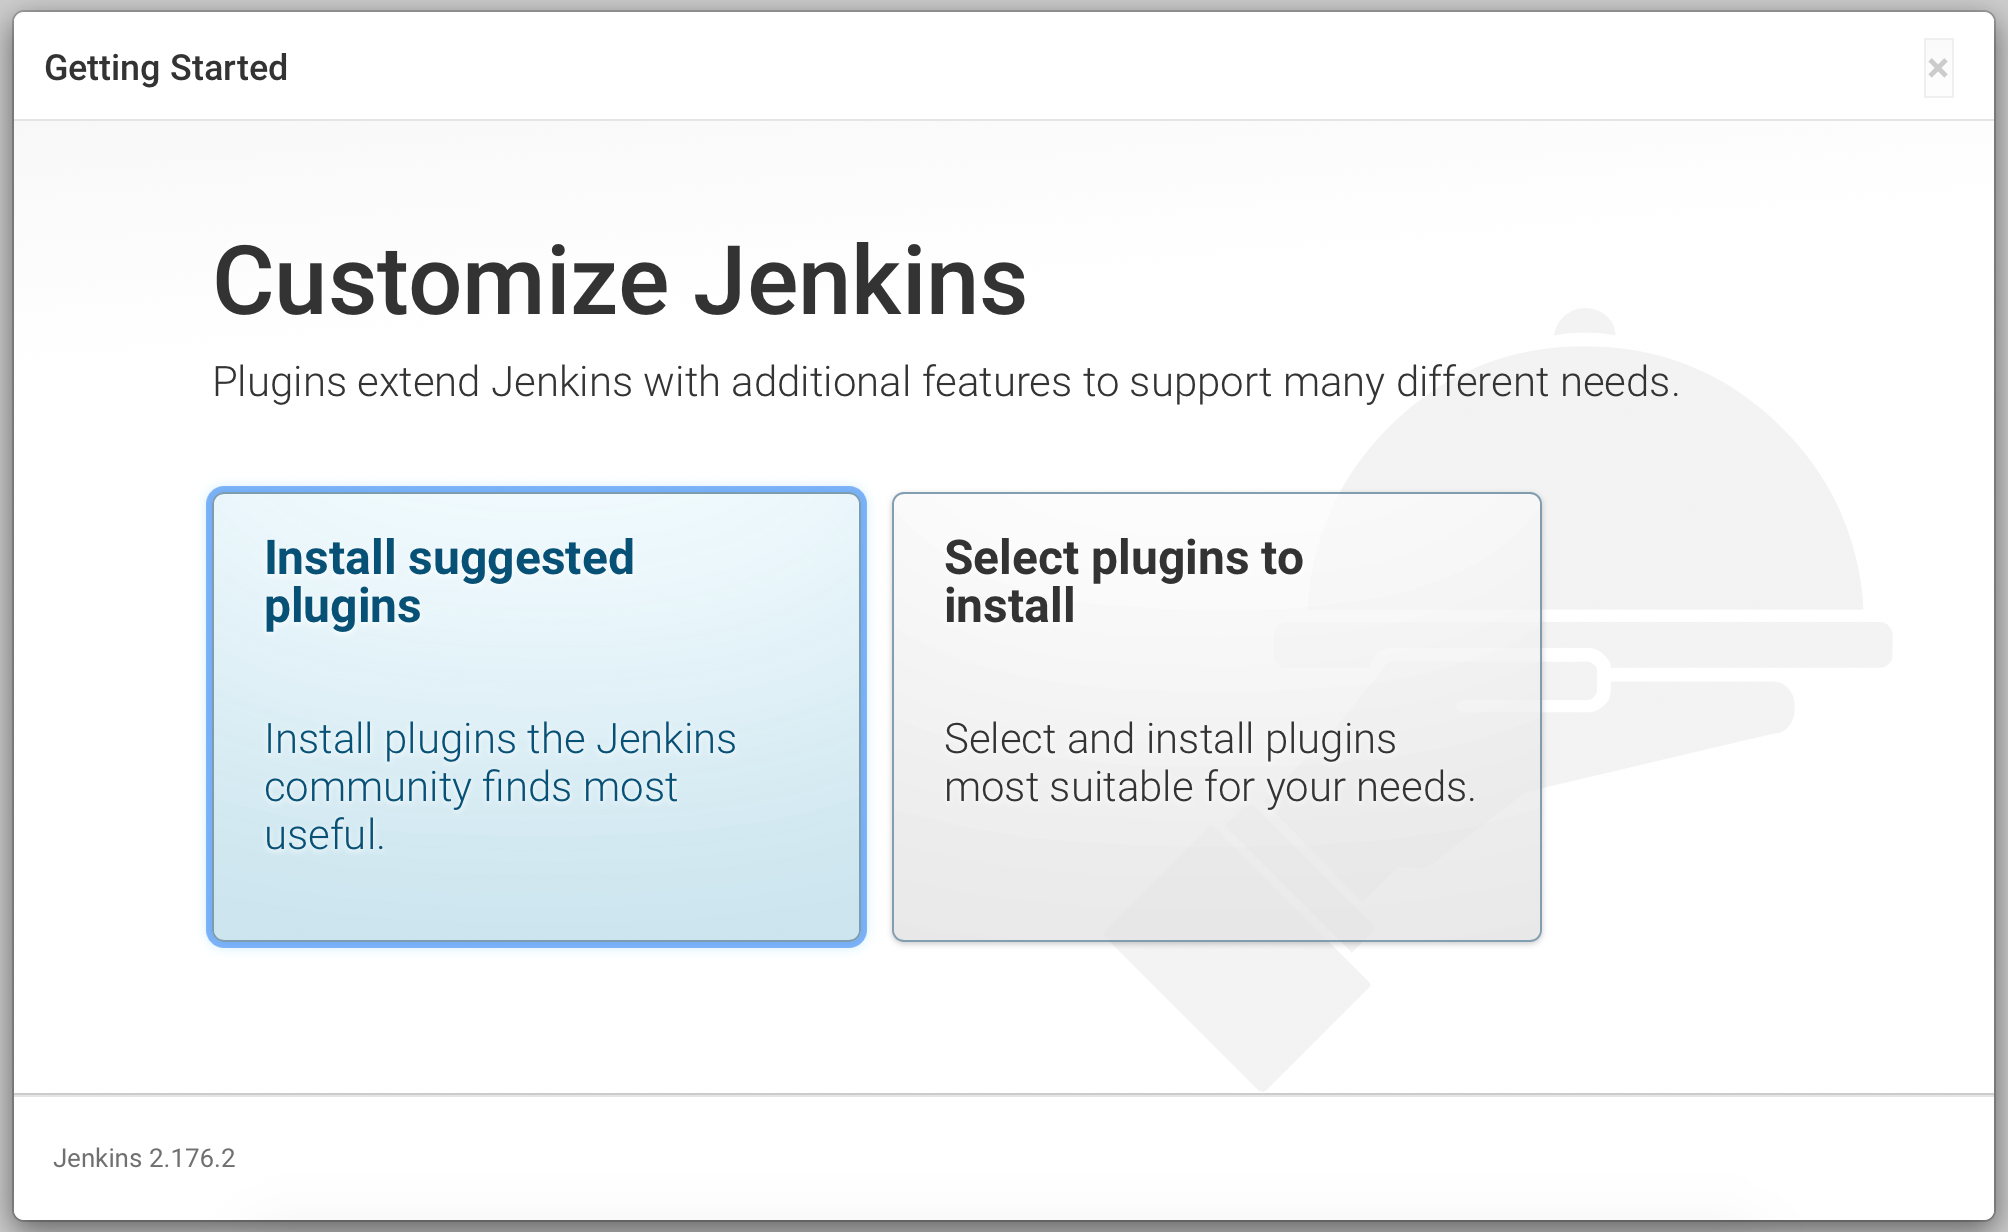
The Getting Started page may ask you to customize Jenkins by installing plugins.
You can close this page if you want to skip this step or click the "Install suggested plugins" button:
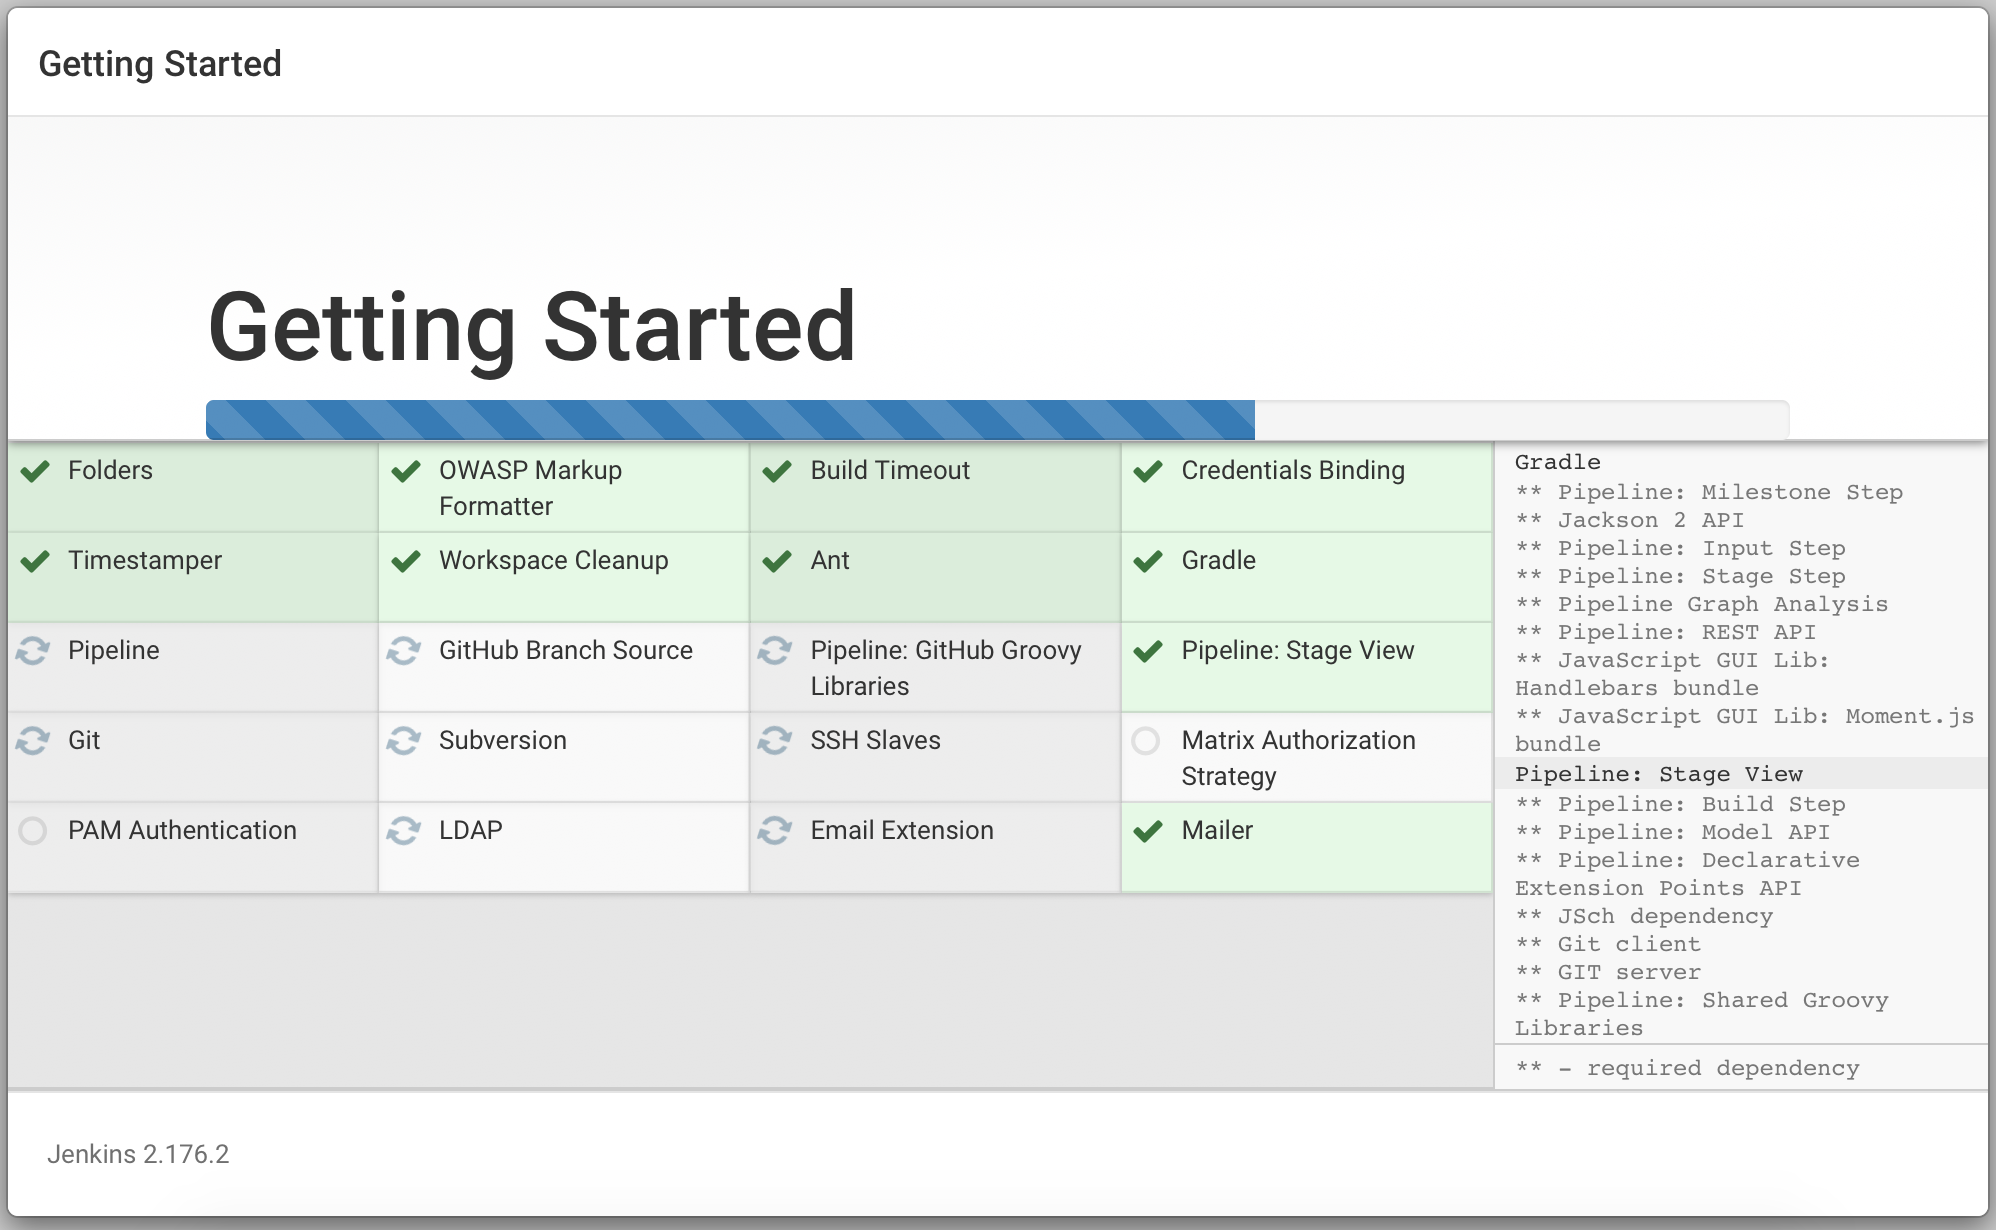
When the plugins installation is completed you will be redirected to "Create First Admin User" page:
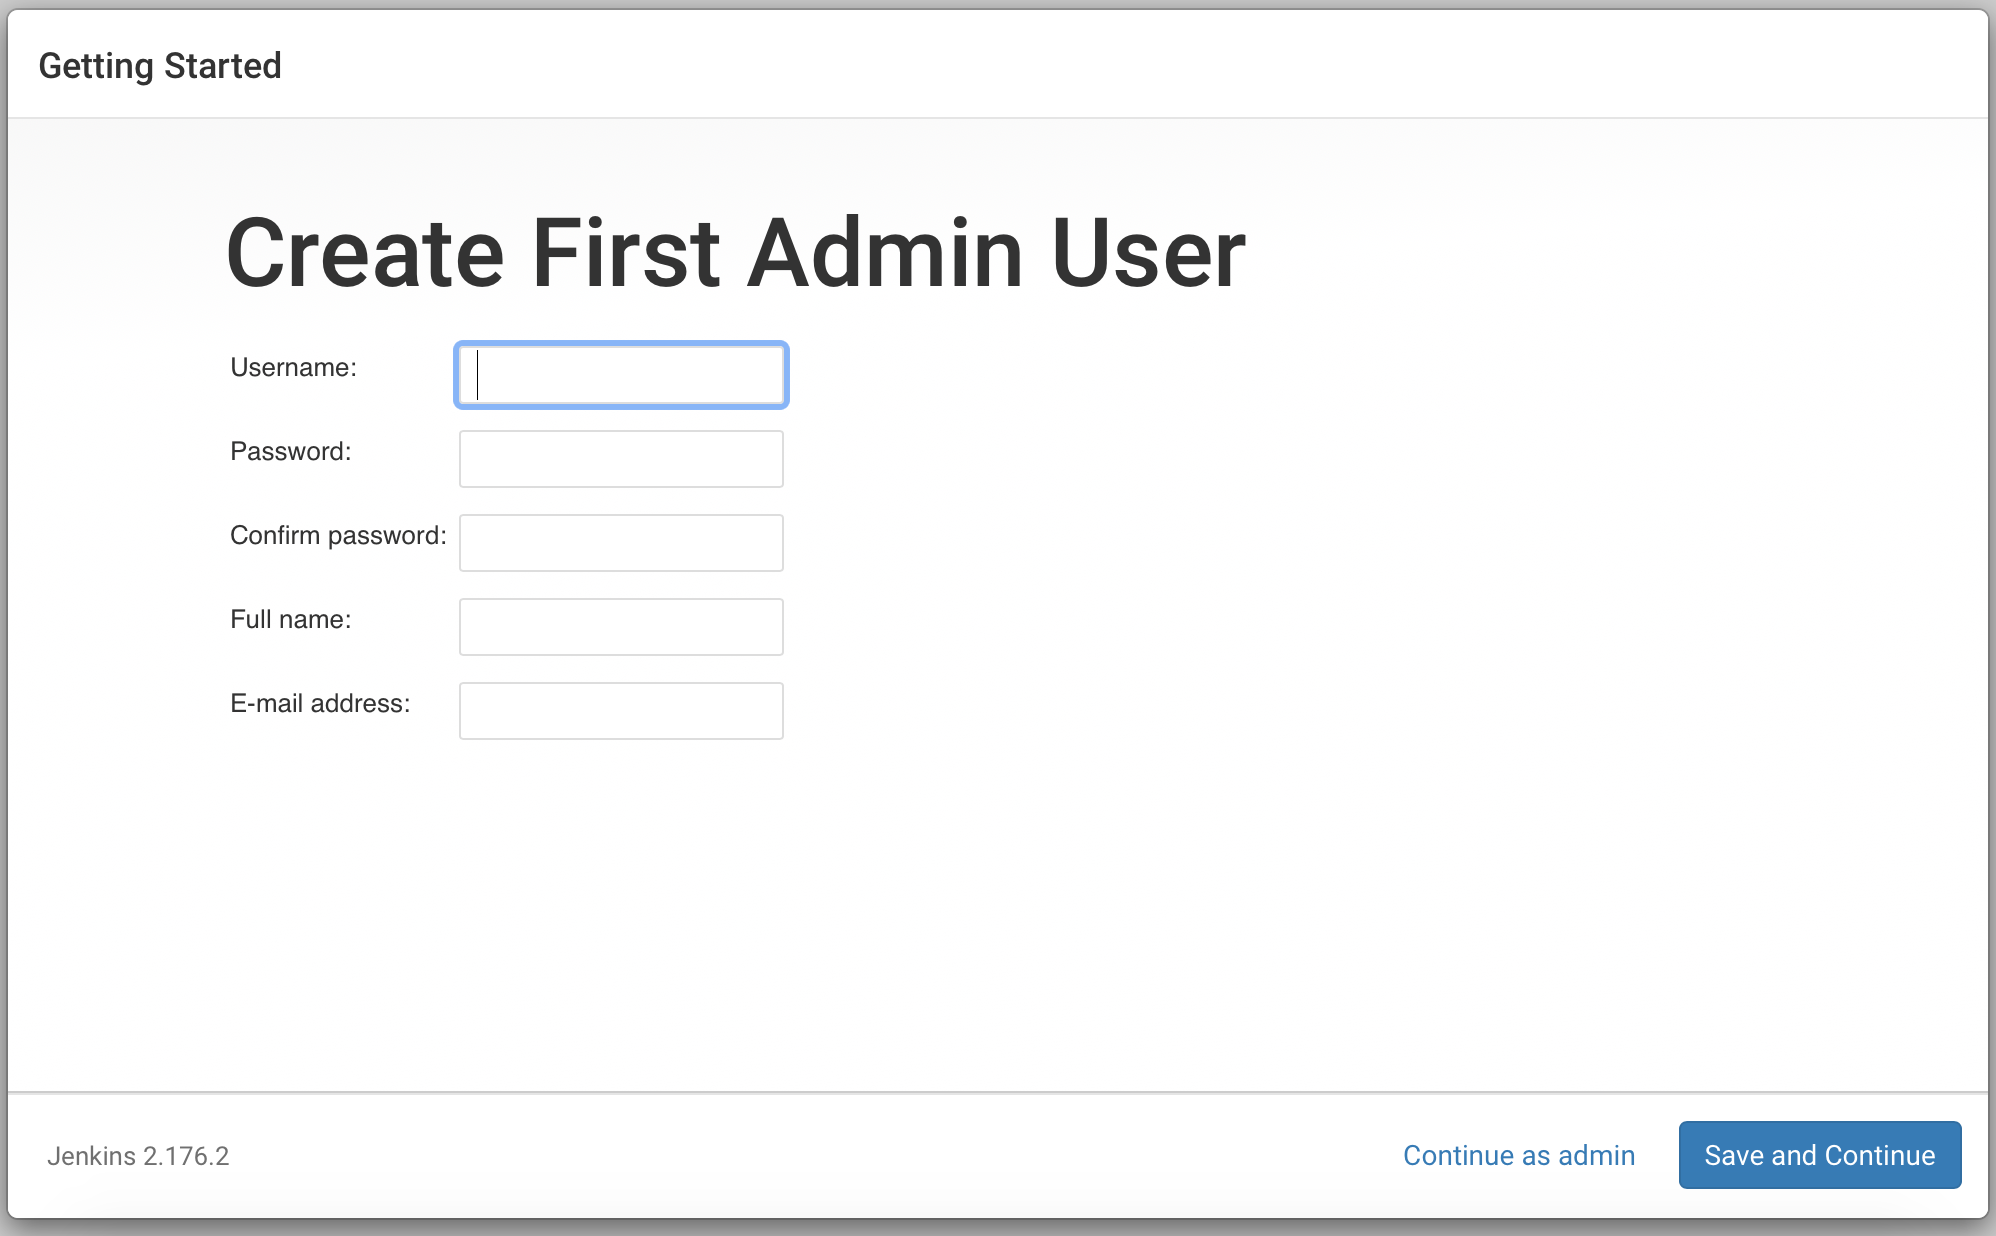
You can click the "Continue as admin" link to go the "Instance Configuration" page:
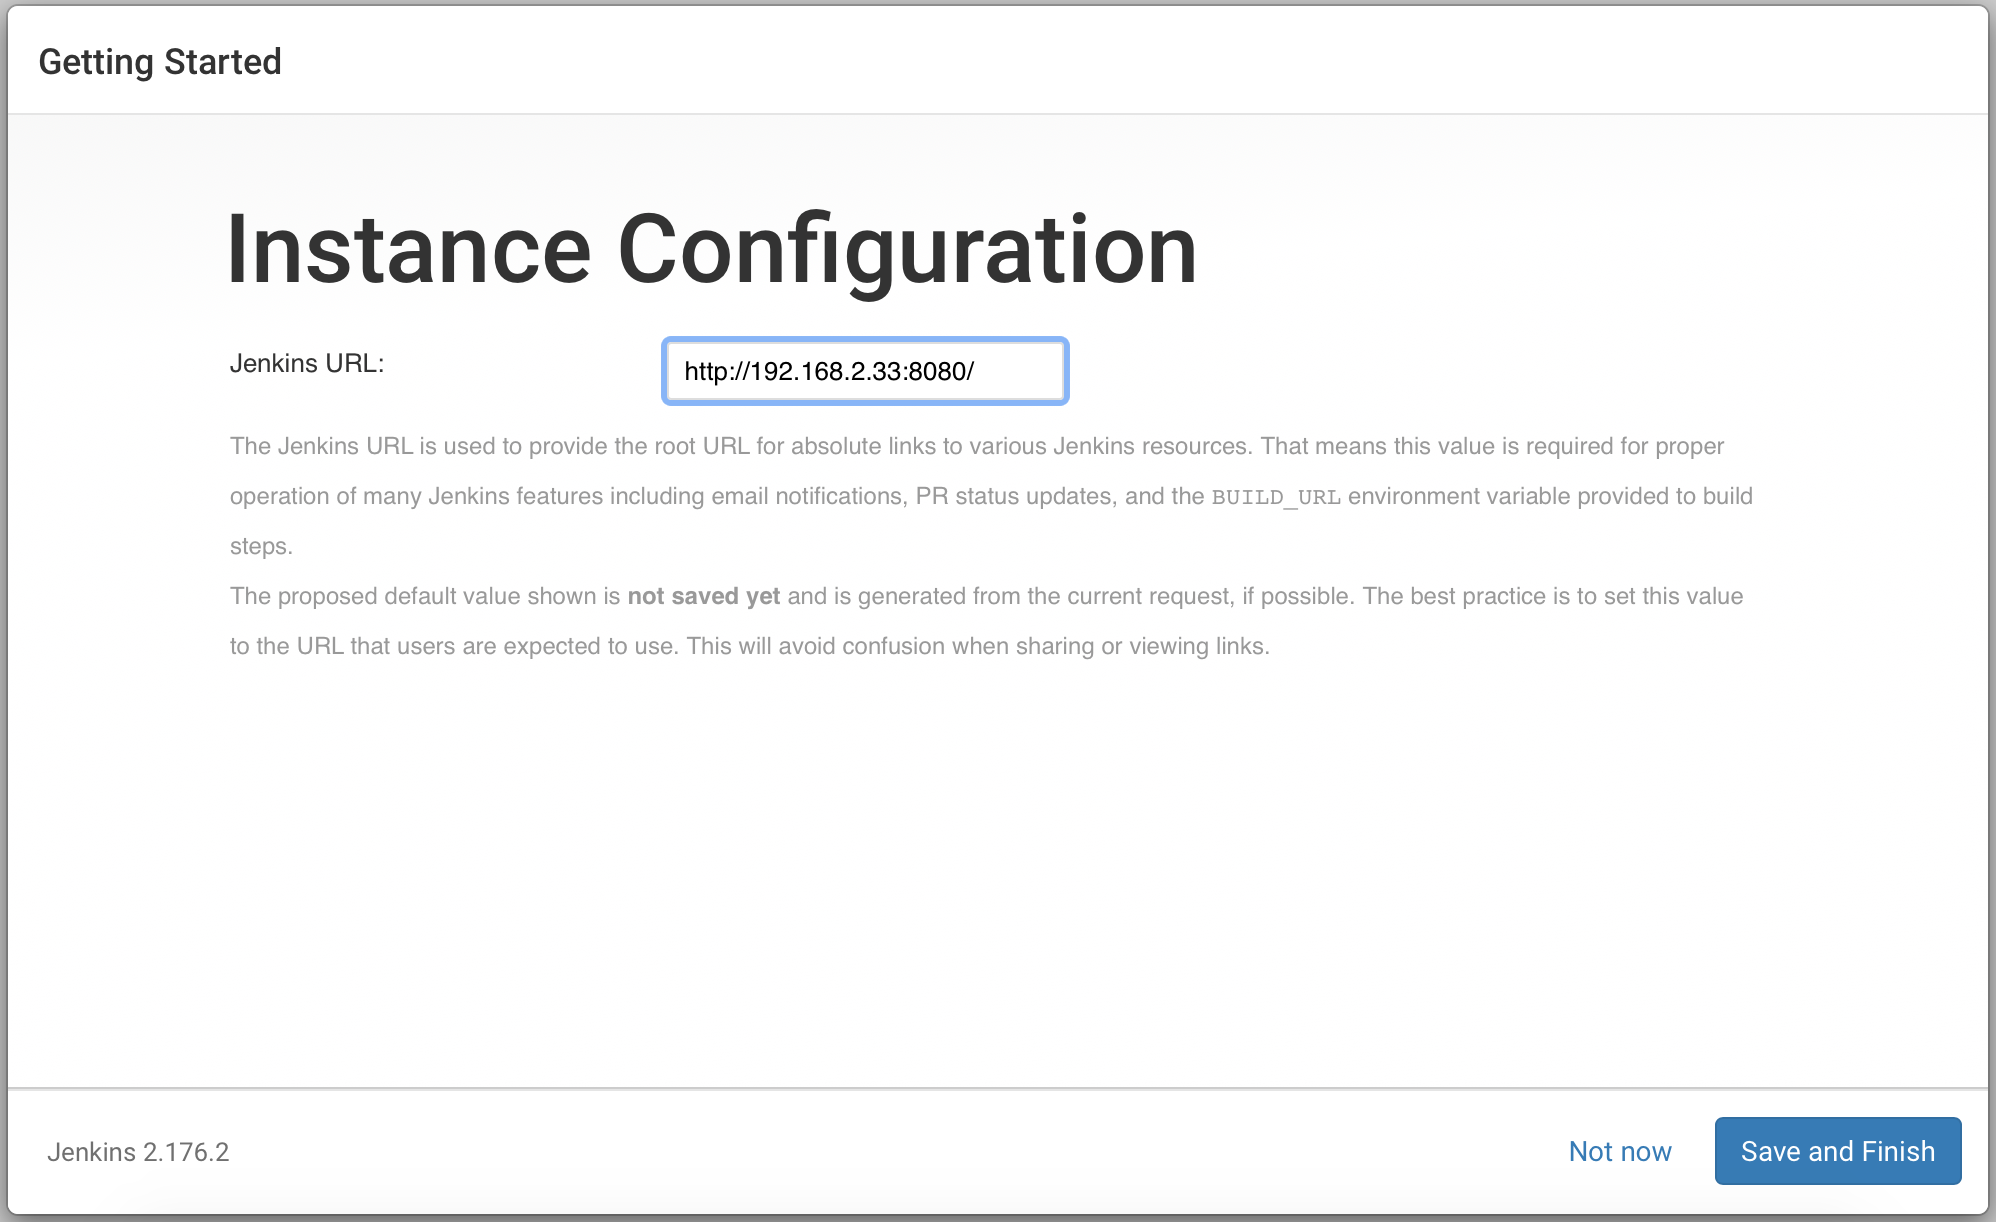
Click the "Save and Finish" button and Jenkins will be ready:
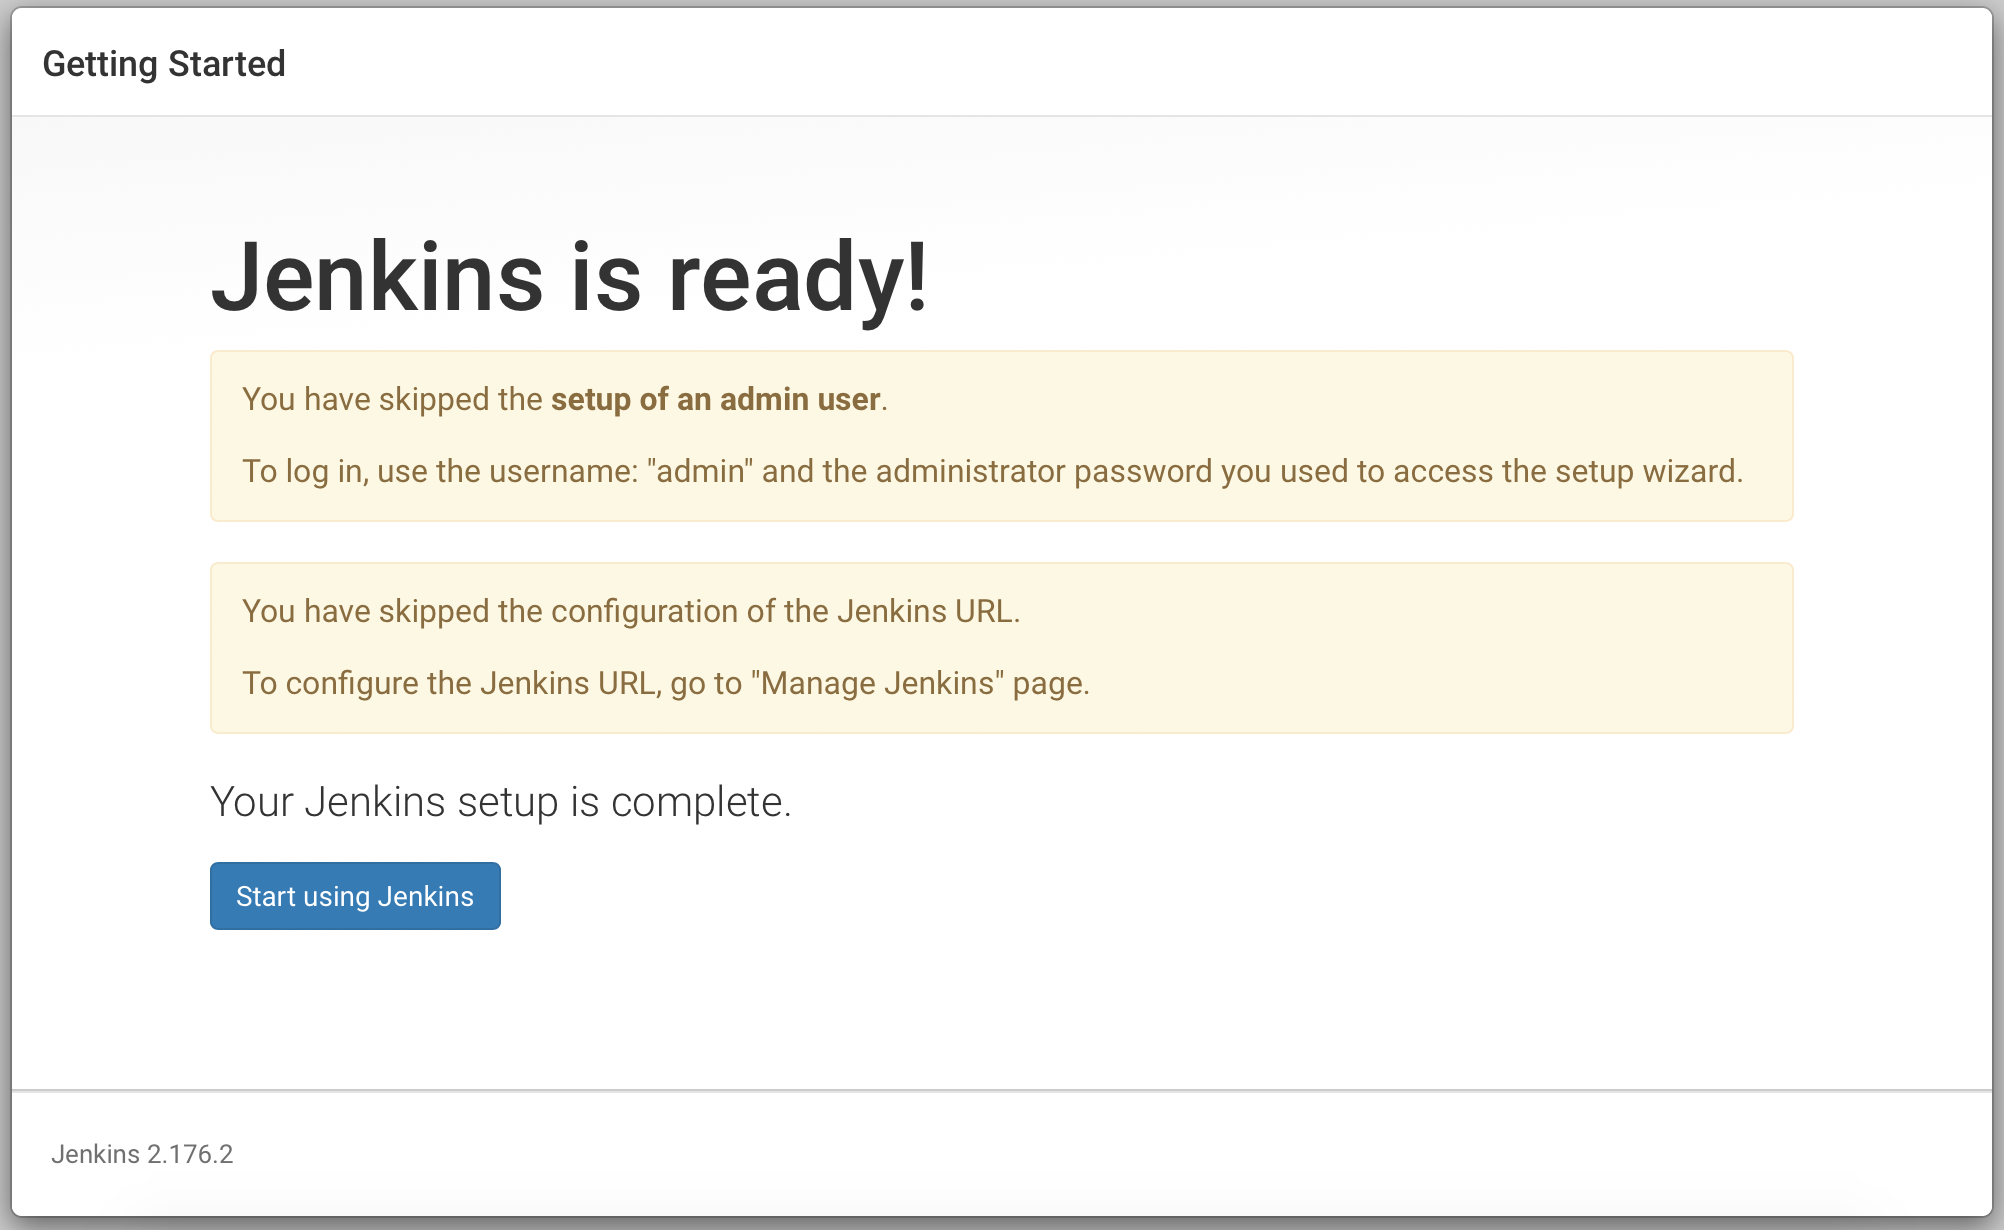
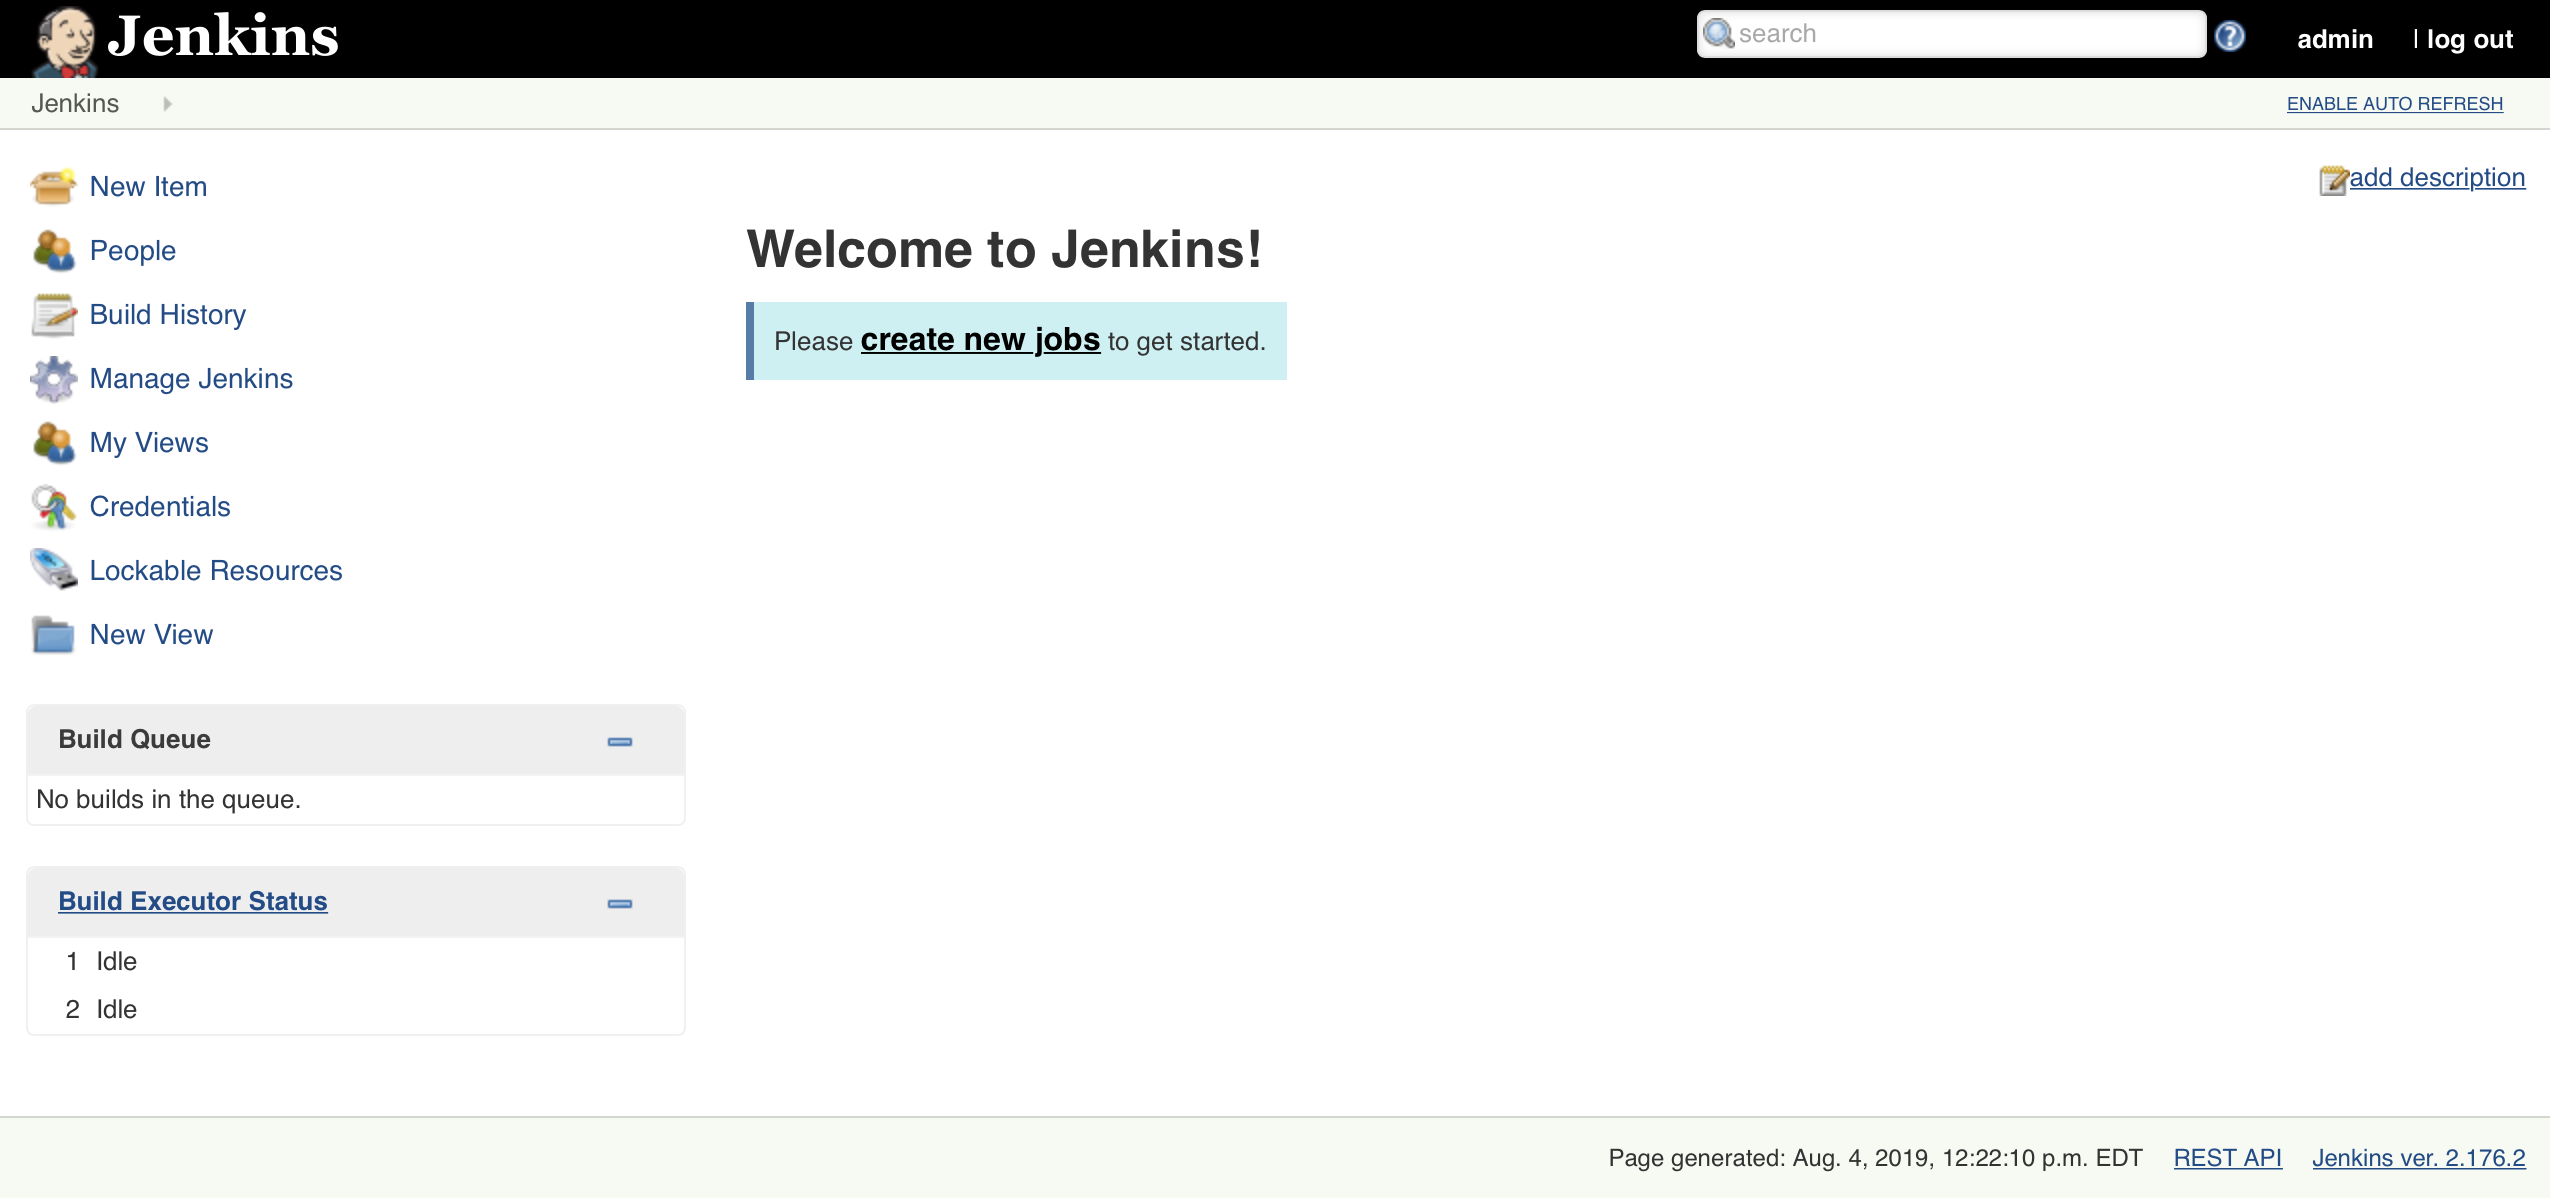
Click the "Start using Jenkins" button to go the Welcome page:
-
Change "
admin" user passwordTo change the "admin" user password, follow the following steps:
- Click the "
Manage Jenkins" link. - Click the "
Manage Users" link. - Click the "
admin" user link. - Click the "
Configure" link. - Modify the "
admin" user password and Click the "Save" button.
- Click the "
-
Jenkins log files
Jenkins log files can be found in this folder: "
/var/log/jenkins/"
-
Start/Stop Jenkins
By default Jenkins is configured to run as a service.
If needed you can use the "start" and "stop" commands to start and stop Jenkins.
Start Jenkins:
$ sudo service jenkins start
Stop Jenkins:
$ sudo service jenkins stop
-
How to disable the security
You can disable the security if needed (for example you have forgotten your "
admin " password!):
- Open the "
/var/lib/jenkins/config.xml" file. - Set the "
useSecurity" element to "false". - Remove or comment the "
authorizationStrategy" and "securityRealm" elements (see bellow an example of the content of these 2 elements). - Restart Jenkins.
$ su - jenkins
$ vi /var/lib/jenkins/config.xml
<useSecurity>false</useSecurity>
<!--
<authorizationStrategy class="hudson.security.FullControlOnceLoggedInAuthorizationStrategy">
    <denyAnonymousReadAccess>true</denyAnonymousReadAccess>
</authorizationStrategy>
<securityRealm class="hudson.security.HudsonPrivateSecurityRealm">
    <disableSignup>true</disableSignup>
    <enableCaptcha>false</enableCaptcha>
</securityRealm>
-->
$ sudo service jenkins restart
- Open the "
-
How to enable the security
Make sure you will be able to authenticate to Jenkins after enabling the security.
If you are using Jnekins' own user database, make sure you have created/configured a user.
-
You can enable the security by adjusting Jnekins' "
config.xml" file:
- Open the "
/var/lib/jenkins/config.xml" file. - Set the "
useSecurity" element to "true". - Add the "
authorizationStrategy" and "securityRealm" elements. - Restart Jenkins.
$ su - jenkins
$ vi /var/lib/jenkins/config.xml
<useSecurity>true</useSecurity>
<authorizationStrategy class="hudson.security.FullControlOnceLoggedInAuthorizationStrategy">
    <denyAnonymousReadAccess>true</denyAnonymousReadAccess>
</authorizationStrategy>
<securityRealm class="hudson.security.HudsonPrivateSecurityRealm">
    <disableSignup>true</disableSignup>
    <enableCaptcha>false</enableCaptcha>
</securityRealm>
$ sudo service jenkins restart
- Open the "
-
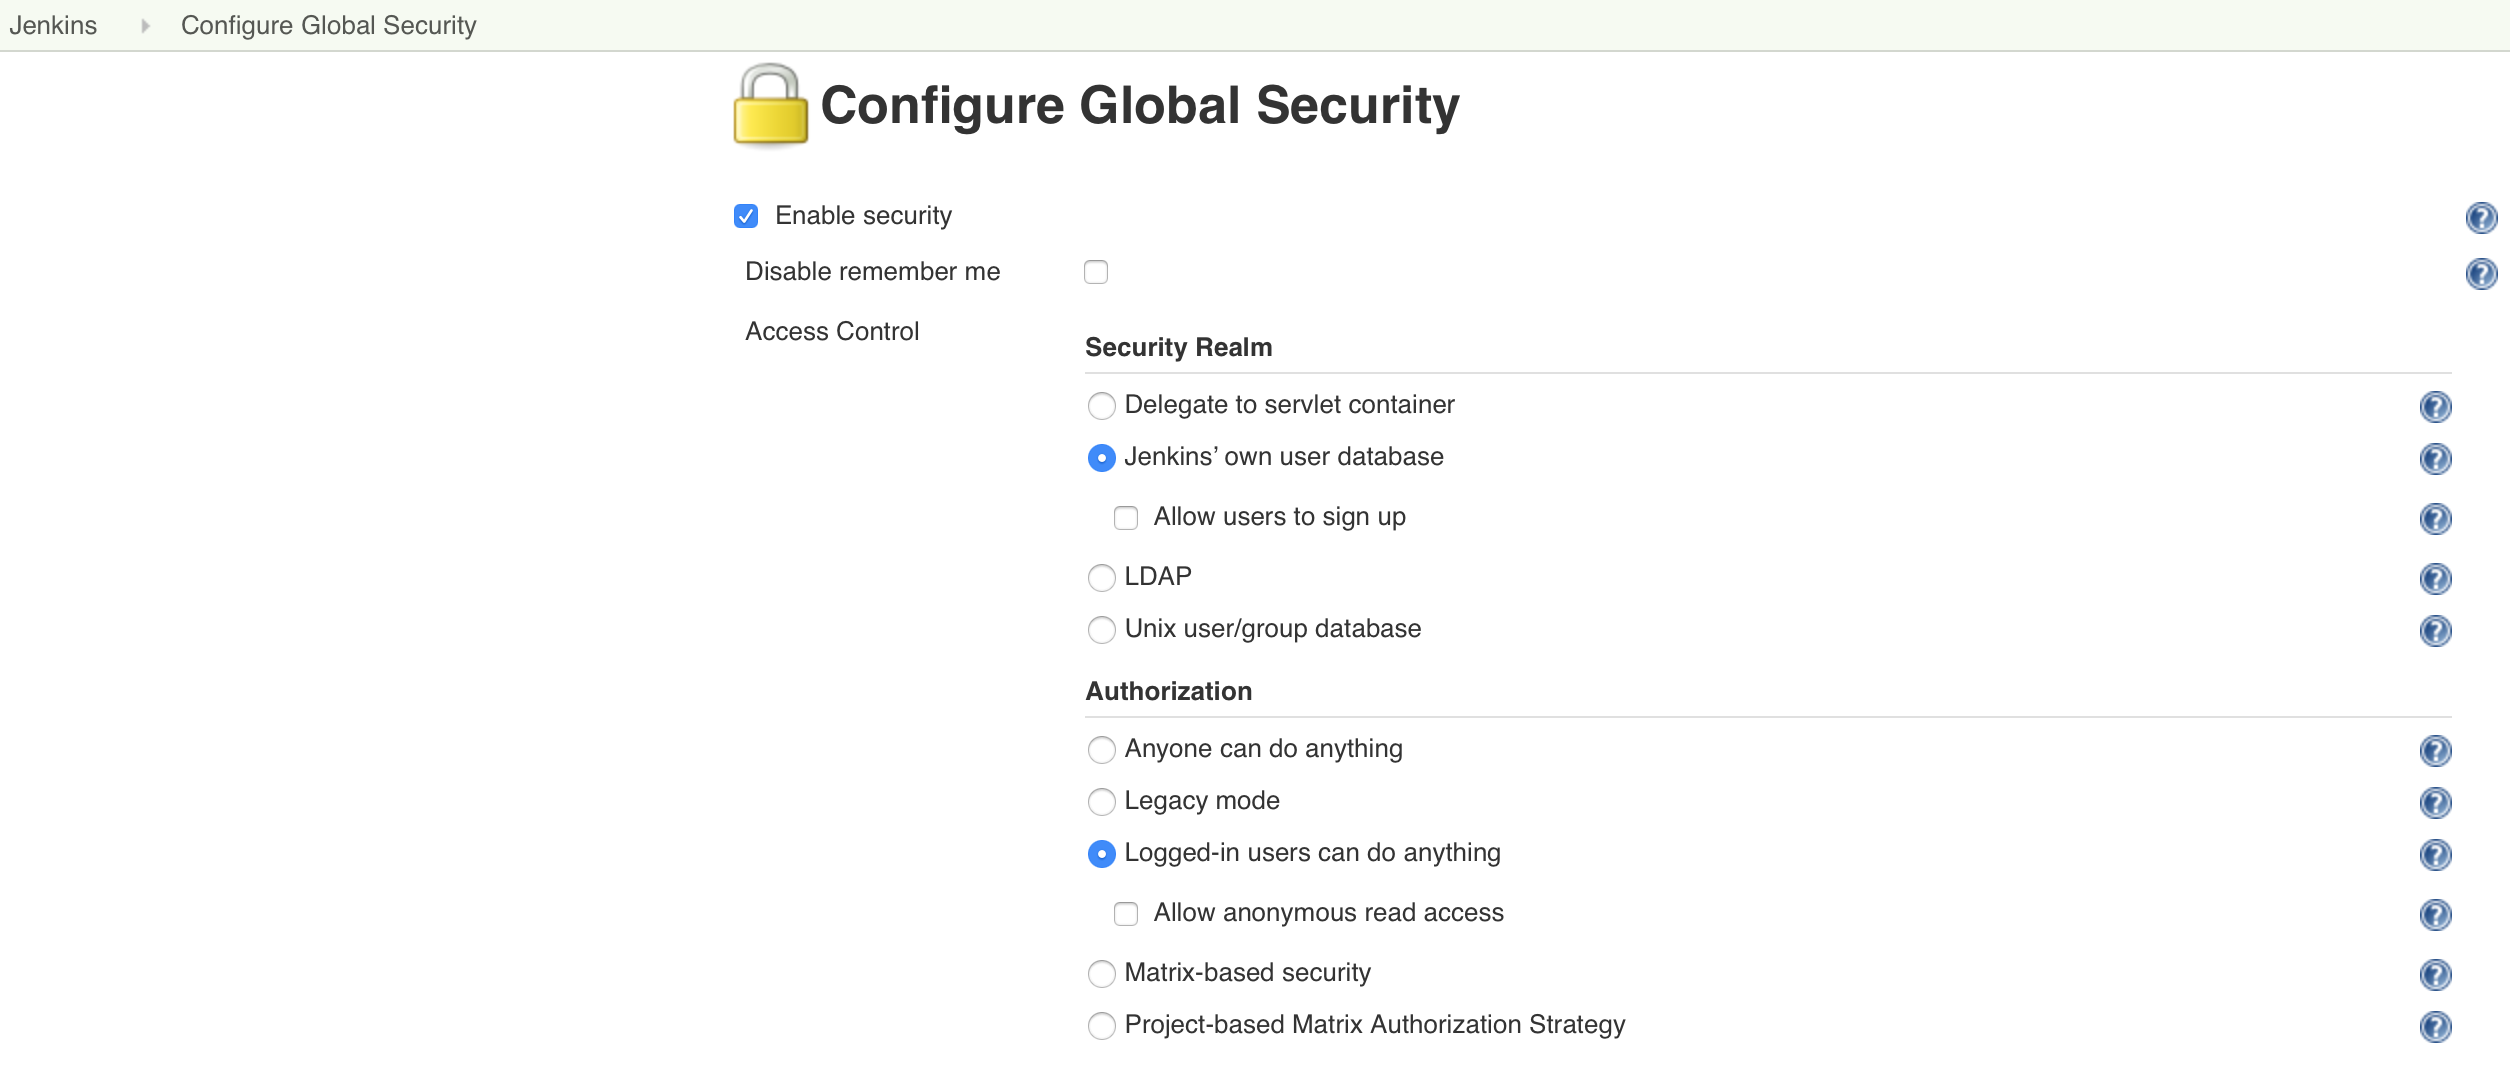
You can also enable the security directly from Jenkins UI:
- Click the "
Manage Jenkins" link. - Click the "
Configure Global Security" link. - Check the "
Enable security" checkbox. - In "
Security Realm" access control, check "Jenkins’ own user database" radio button. - In "
Authorization" access control, check "Logged-in users can do anything" radio button. - In "
Authorization" access control, un-check "Allow anonymous read access" checkbox. - Click the "
Apply" and "Save". - Restart Jenkins.
- Click the "
-
You can enable the security by adjusting Jnekins' "
-
Uninstallation
List Jenkins installed packages:
$ apt list --installed | grep jenkins
Uninstall Jenkins:
$ sudo apt remove jenkins
Uninstall Jenkins and its dependencies:
$ sudo apt remove jenkins
$ sudo apt autoremove jenkins
$ sudo apt purge jenkins
Delete Jenkins directories:
$ sudo rm -rf /var/lib/jenkins
$ sudo rm -rf /var/log/jenkins/