Install
|
PHP/phpMyAdmin
-
References
See these pages for more details on how to install PHP/phpMyAdmin:
https://help.ubuntu.com/lts/serverguide/php.html
https://help.ubuntu.com/lts/serverguide/phpmyadmin.html -
Install PHP
$ sudo apt install php
Install required tools:
$ sudo apt install libapache2-mod-php php-mysql
Verify the version of PHP:
$ php -version
PHP 7.2.24-0ubuntu0.18.04.1 (cli) (built: Oct 28 2019 12:07:07) ( NTS ) Copyright (c) 1997-2018 The PHP Group Zend Engine v3.2.0, Copyright (c) 1998-2018 Zend Technologies with Zend OPcache v7.2.24-0ubuntu0.18.04.1, Copyright (c) 1999-2018, by Zend Technologies -
Install phpMyAdmin
$ sudo apt install phpmyadmin
Choose the web server that should be automatically configured to run phpMyAdmin.
Web server to reconfigure automatically: apache2
Configure database for phpmyadmin with dbconfig-common? yes
MySQL application password for phpmyadmin: phpmyadmin
Verify the version of phpMyAdmin:
$ dpkg -l | grep phpmyadmin
ii phpmyadmin 4:4.6.6-5 all MySQL web administration tool
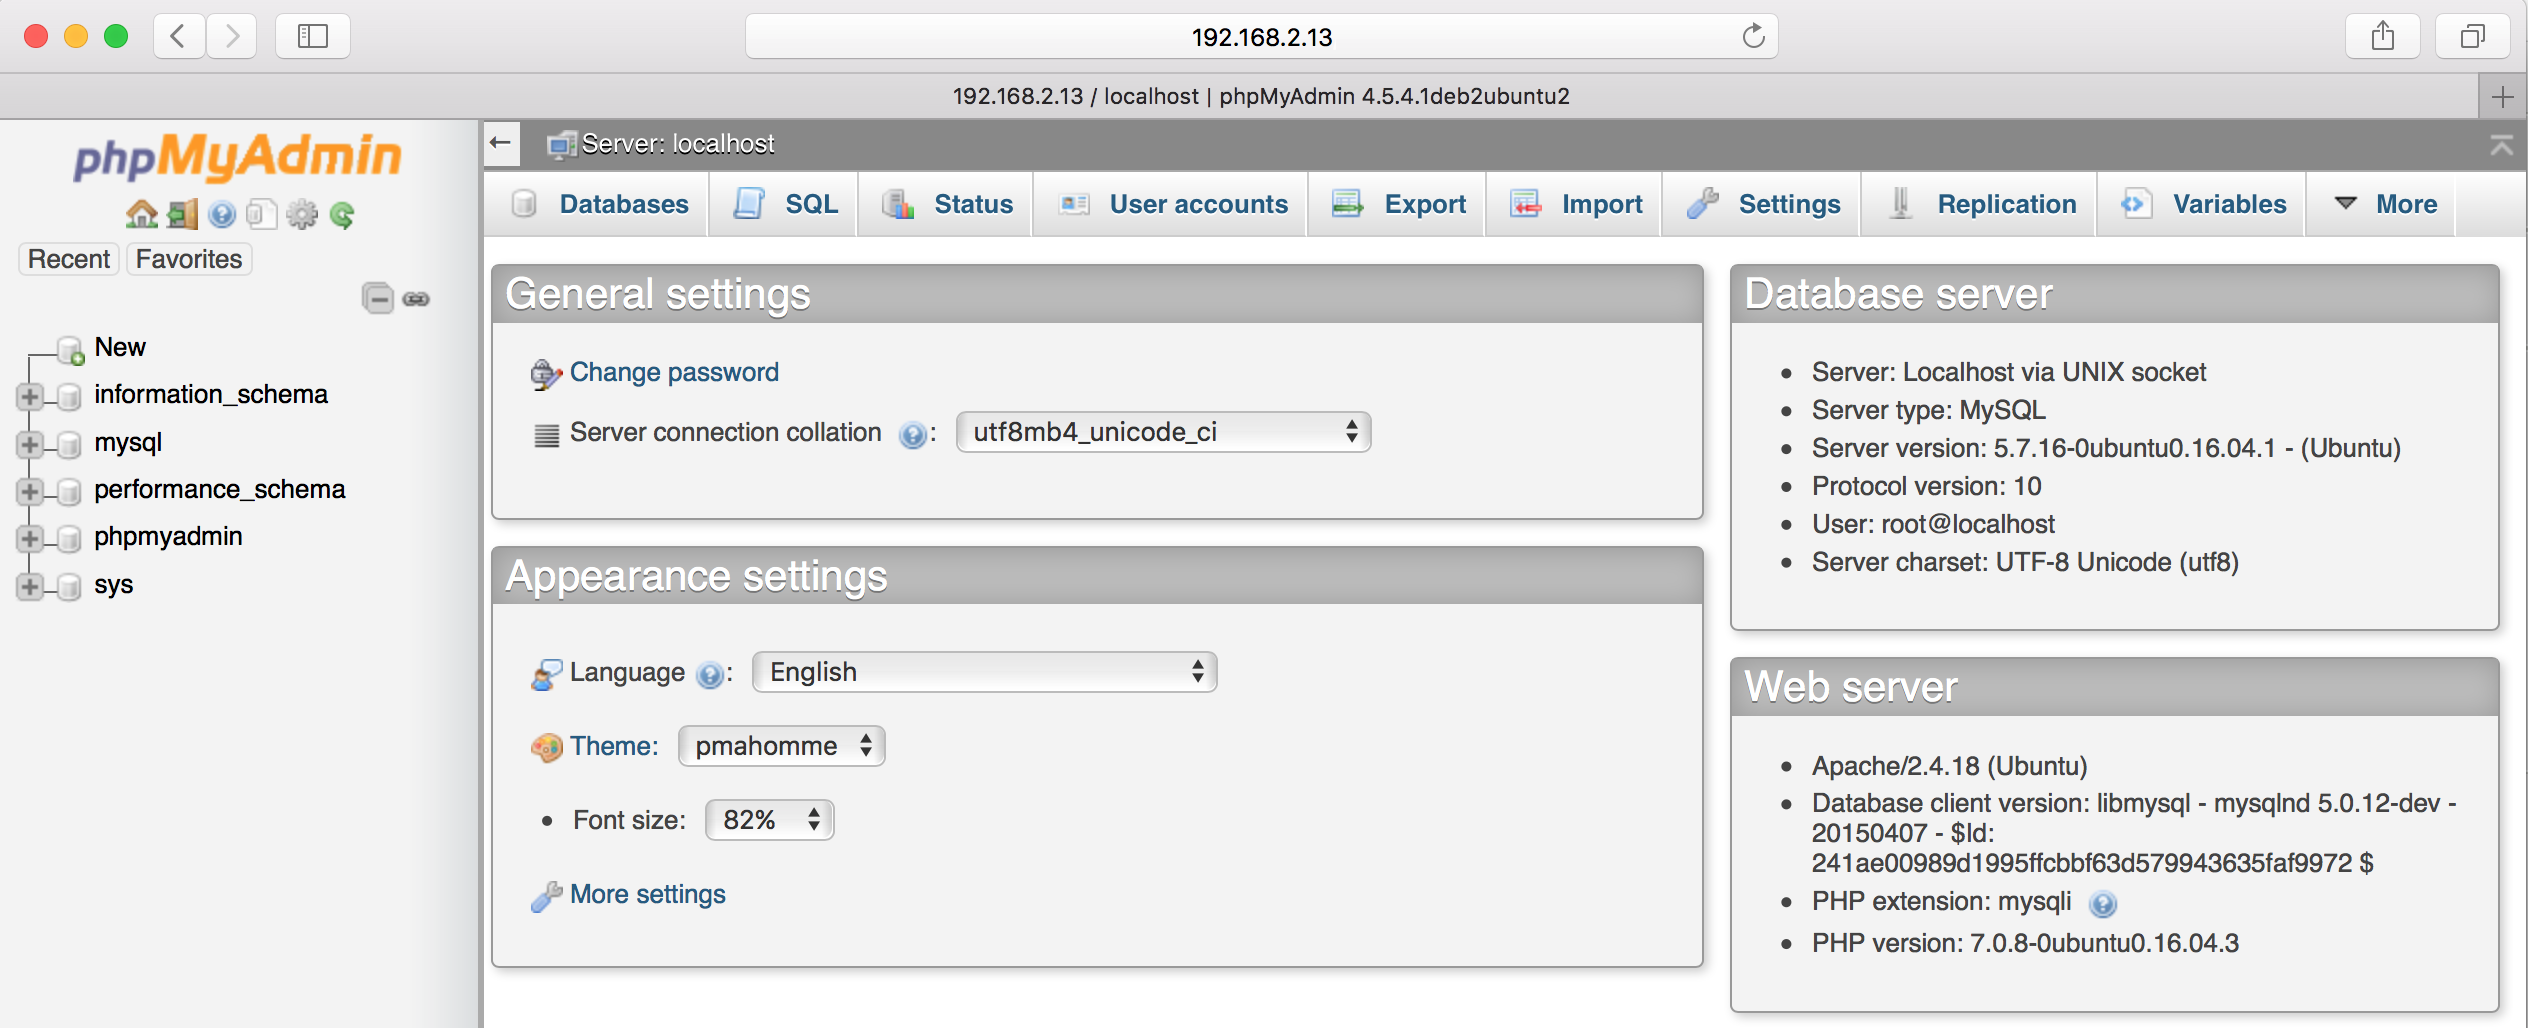
Access the default page of phpMyAdmin: http://localhost/phpmyadmin
-
phpMyAdmin setup
You need to setup a password for the 'admin' user:
$ sudo htpasswd /etc/phpmyadmin/htpasswd.setup admin
New password:
Re-type new password:
Updating password for user admin
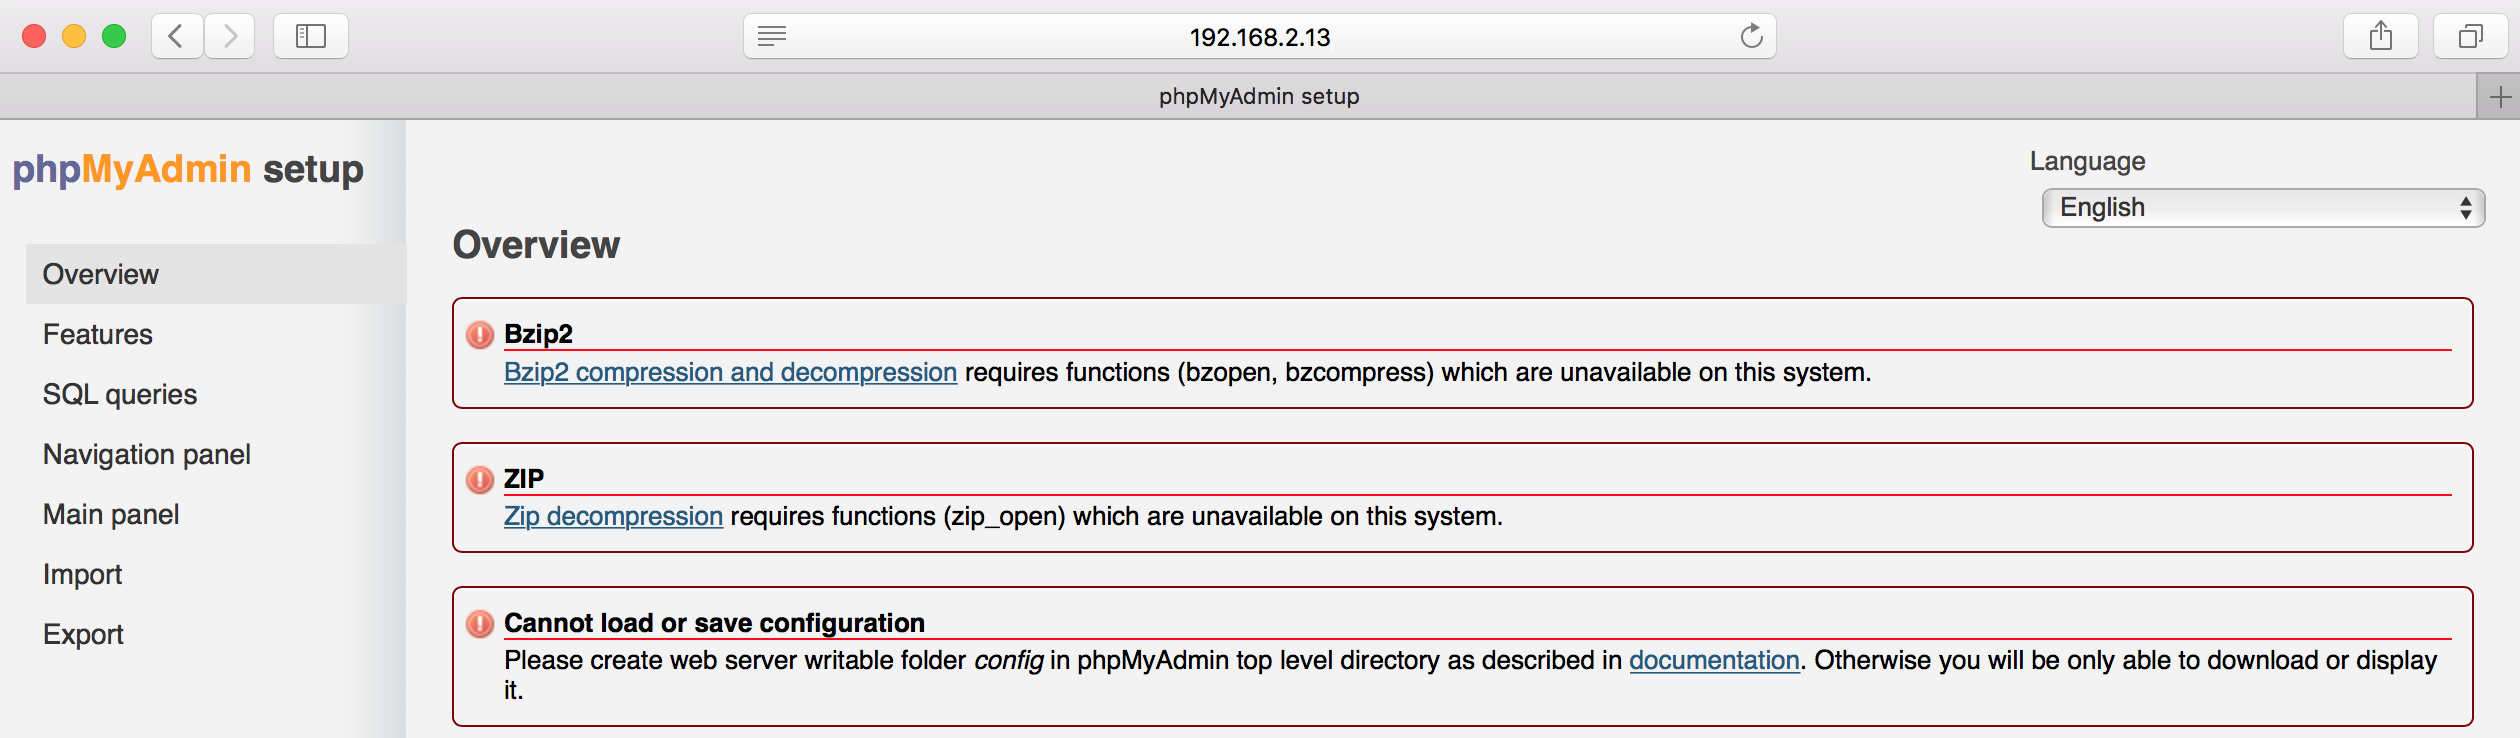
Access the phpMyAdmin setup: http://localhost/phpmyadmin/setup
You might get this error: "phpMyAdmin - Error. Configuration already exists, setup is disabled!"
Check if the file "/etc/phpmyadmin/config.inc.php" already exists in the root phpMyAdmin directory.
Move/rename this file to fix this issue:
$ sudo mv /etc/phpmyadmin/config.inc.php /etc/phpmyadmin/config.inc.php.bak
-
Modify phpMyAdmin alias
Modify the phpMyAdmin alias:
$ sudo nano /etc/phpmyadmin/apache.conf
Alias /phpmyadmin1 /usr/share/phpmyadmin
Now you can access the phpMyAdmin using the URI: http://localhost/phpmyadmin1