WAS
|
Install WebSphere Application Server 9.0 (Linux)
- Install IBM Installation Manager 1.9.1
- Start IBM Installation Manager
- Configure WebSphere Application Server repository in IBM Installation Manager
- Install WebSphere Application Server 9.0
-
Install IBM Installation Manager 1.9.1
Download IBM Installation Manager:
https://www.ibm.com/support/pages/installation-manager-and-packaging-utility-download-documents
Unzip IBM Installation Manager package: pu.offering.disk.linux.gtk.x86_64_1.9.1000.20191001_1257.zip
Install IBM Installation Manager:
-
Start IBM Installation Manager
You can start IBM Installation Manager in wizard mode:
Open a command-line utility.
Open the eclipse directory: IBM_INSTALL_DIR/IBM/InstallationManager/eclipse
Start Installation Manager:
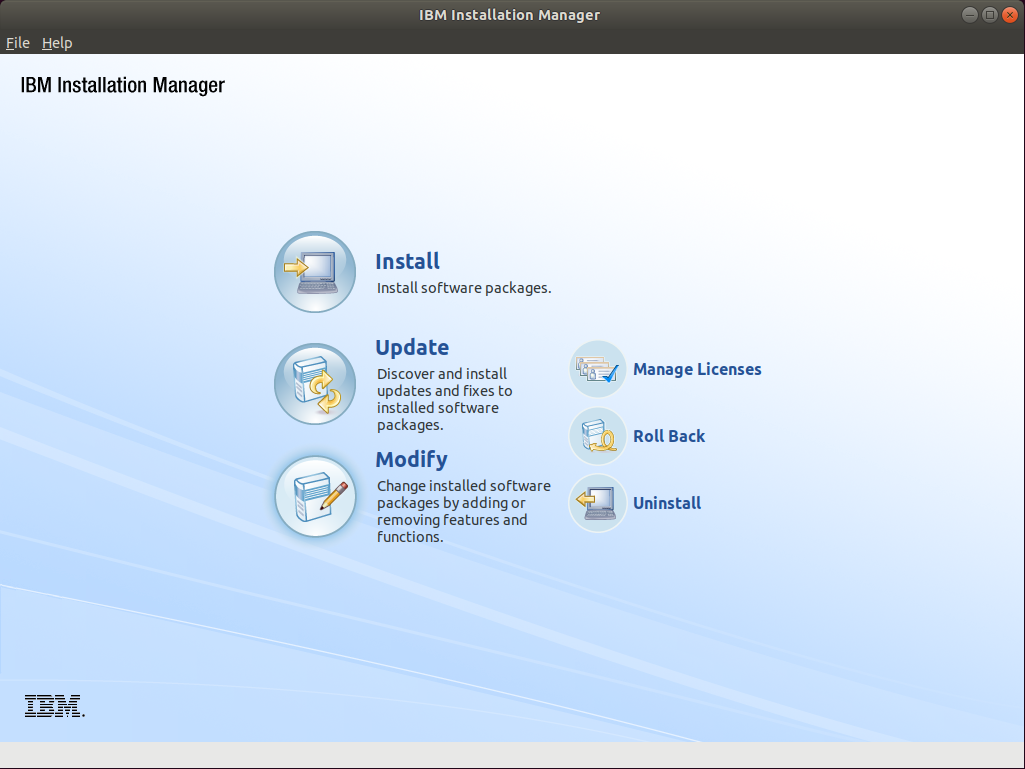
-
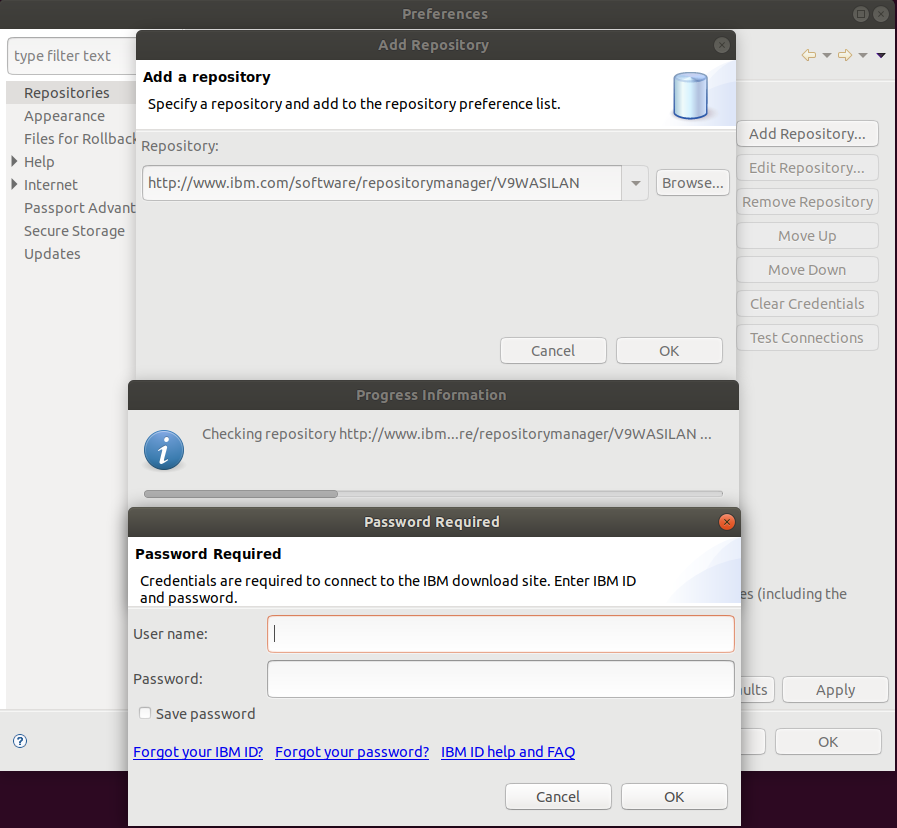
Configure WebSphere Application Server repository in IBM Installation Manager
In the top menu of IBM Installation Manager:
Click File.
Click Preferences.
Select Repositories.
Click Add Repository.
Enter the following URI: http://www.ibm.com/software/repositorymanager/V9WASILAN
Click OK.
Enter your IBM ID credentials and click OK (if successful, you should see a green icon in the connection status).
Click OK to end the repository configuration.
-
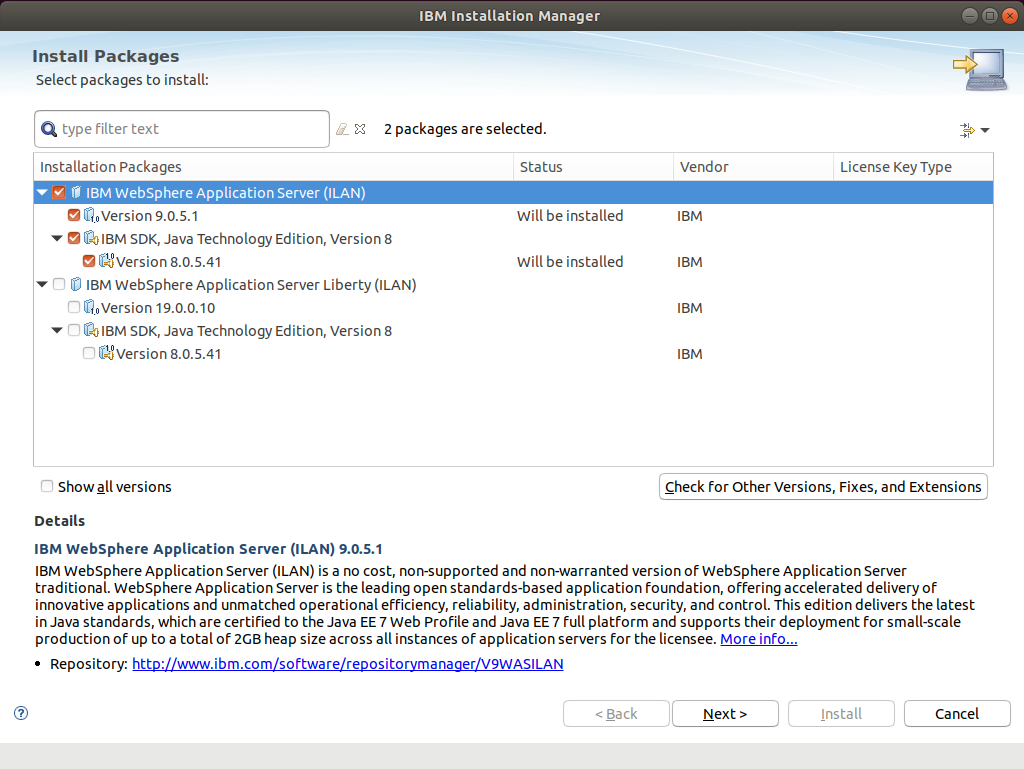
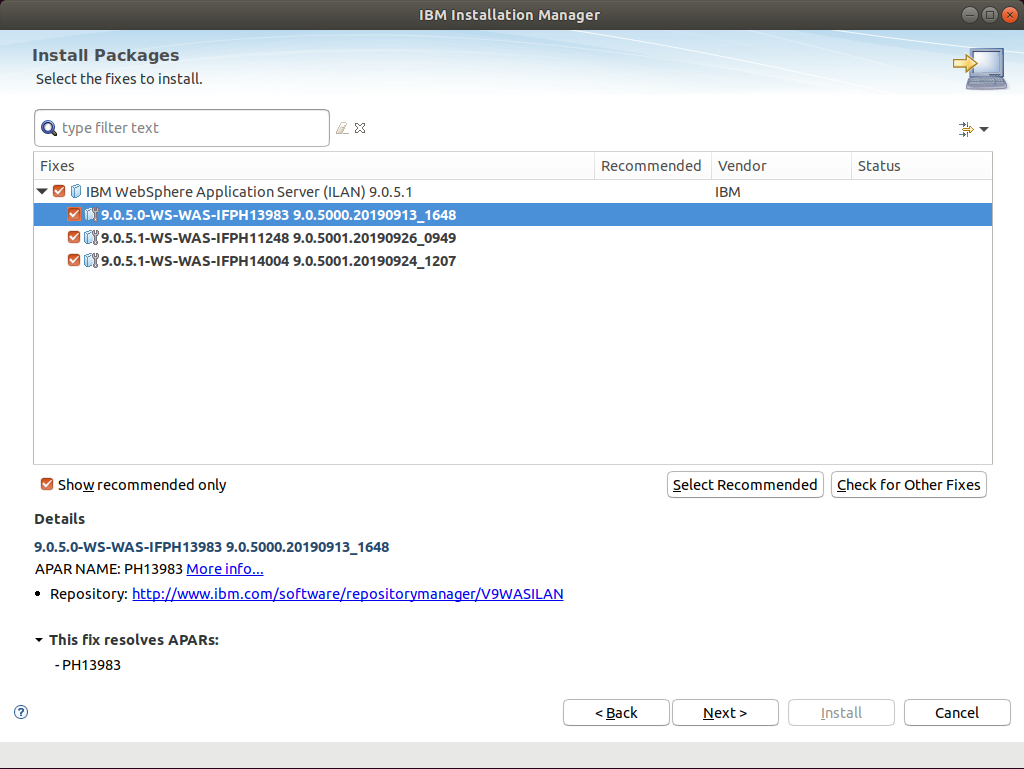
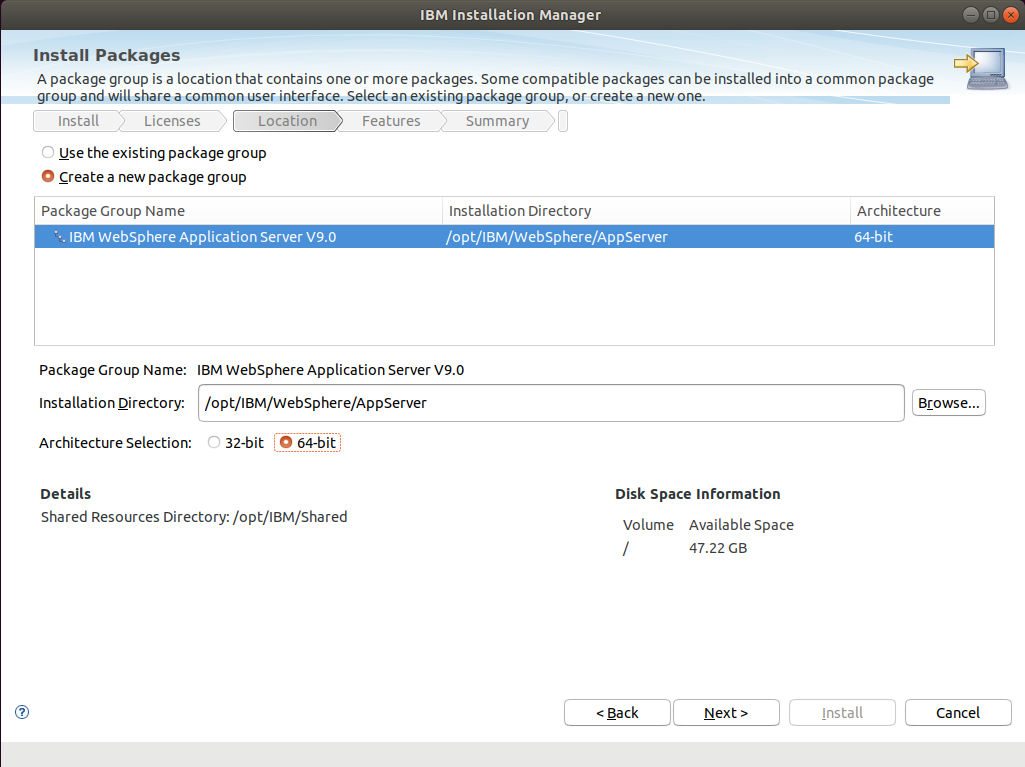
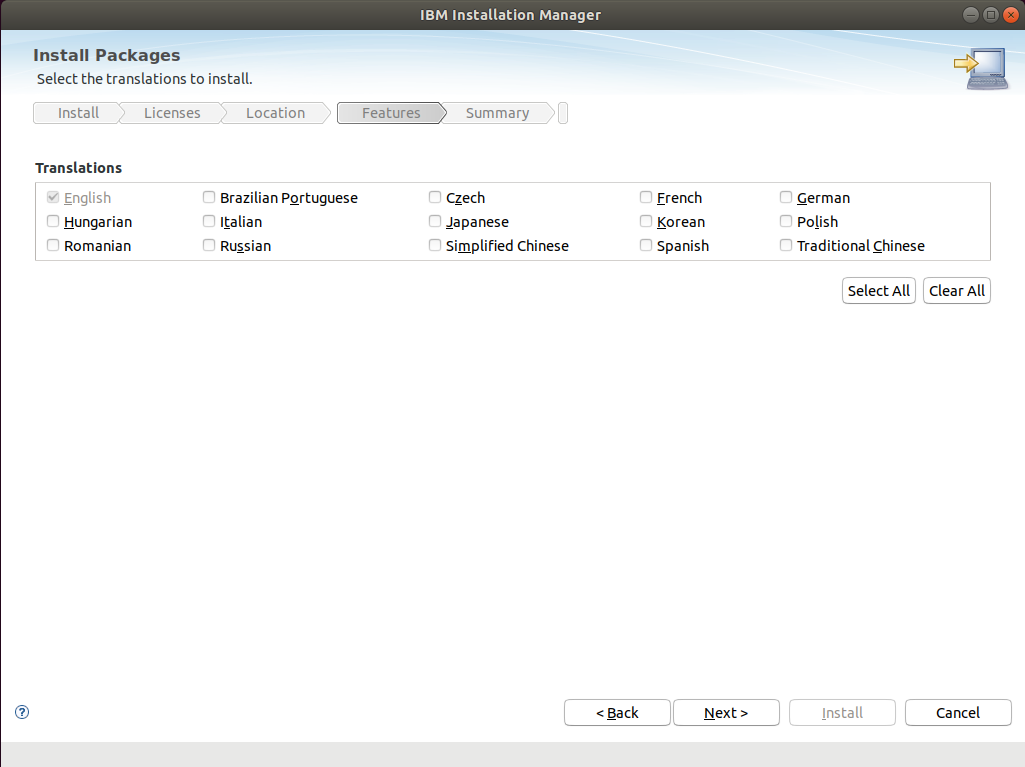
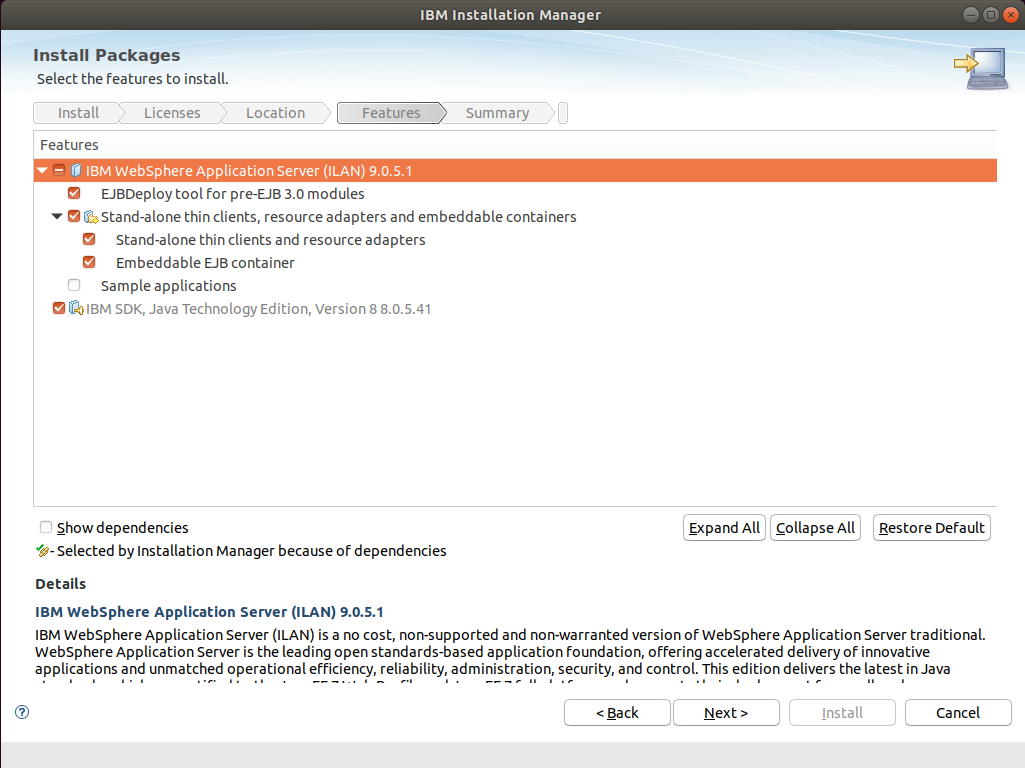
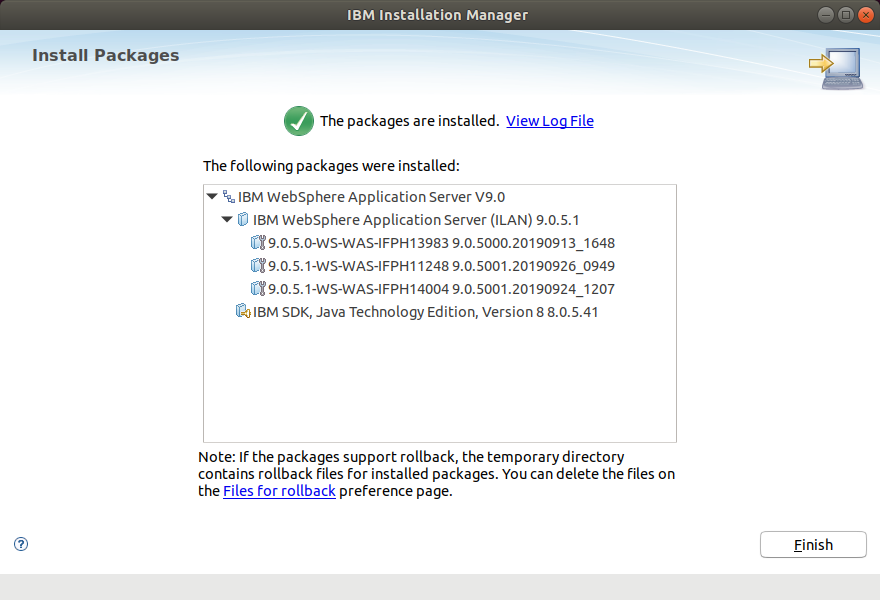
Install WebSphere Application Server 9.0
To start WebSphere Application Server installation click "Install" in IBM Installation Manager and follow these steps:
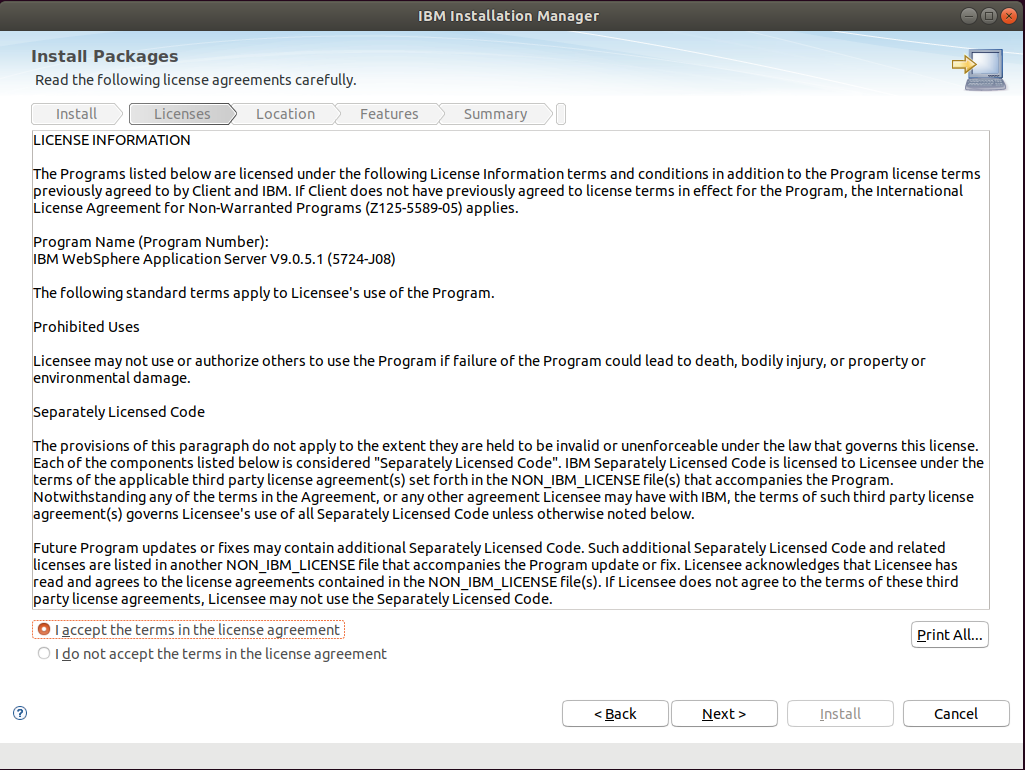

Notes:
- Installation folder of WebSphere Application Server (Runtime binaries): "/opt/IBM/WebSphere/AppServer".
- The installation folder will be referenced by this environment variable: "WAS_ROOT".
To print information about the installation of Websphere Application Server, execute the following command: "${WAS_ROOT}/bin/versionInfo.sh".