Install
|
SonarQube (a SonarQuebe server to monitor the code quality)
- References
- Installation (Ubuntu 18.04)
- SonarQube configuration
- PostgreSQL configuration
- Maven configuration
- Run SonarQube analysis
- Run local SonarQube analysis
- Install plugins
-
References
See this page for more details about SonarQube: http://docs.sonarqube.org/display/SONAR/Documentation
Prerequisites: -
Installation (Ubuntu 18.04)
Download SonarQube (if the link is broken, please visit this page https://www.sonarqube.org/downloads/):
$ wget https://binaries.sonarsource.com/Distribution/sonarqube/sonarqube-7.9.1.zip
Extract the file "sonarqube-7.9.1.zip" in the folder you want to install SonarQube: /opt/sonarqube-7.9.1
$ unzip ~/Downloads/sonarqube-7.9.1.zip -d /opt/
Change the folder permissions:
$ sudo chmod -R 755 /opt/sonarqube-7.9.1/
$ sudo chown -R mtitek:mtitek /opt/sonarqube-7.9.1/
Create a symbolic link of the SonarQube installation folder:
$ sudo ln -s /opt/sonarqube-7.9.1/ /opt/sonarqube
$ sudo chown -R mtitek:mtitek /opt/sonarqube
You should replace mtitek:mtitek with your actual user/group names.
-
SonarQube configuration
Add (or uncomment and modify) the following configuration in the "
/opt/sonarqube/conf/sonar.properties" file:
$ vi /opt/sonarqube/conf/sonar.properties
sonar.jdbc.username=sonar
sonar.jdbc.password=sonar

sonar.web.port=9000

sonar.search.port=9001

sonar.web.javaOpts=-Xmx512m -Xms128m -XX:+HeapDumpOnOutOfMemoryError

sonar.log.rollingPolicy=time:yyyy-MM-dd

sonar.log.maxFiles=7
SonarQube requires some settings to be configured properly. Visit this page for more details https://docs.sonarqube.org/7.9/requirements/requirements/
Set JVM (Java 11) executable path:
$ vi /opt/sonarqube/conf/wrapper.conf
wrapper.java.command=/opt/java11/bin/java
Edit "/etc/sysctl.conf" file:
$ sudo vi /etc/sysctl.conf
vm.max_map_count=262144
Run "sysctl -p" to refresh the new configuration of the "/etc/sysctl.conf" file:
$ sudo sysctl -p
Increase the open files limit:
$ sudo vi /etc/security/limits.conf
mtitek soft nofile 65536
mtitek hard nofile 65536
$ sudo vi /etc/systemd/user.conf
DefaultLimitNOFILE=65536
$ sudo vi /etc/systemd/system.conf
DefaultLimitNOFILE=65536
You might need to reboot your system so the open files limit configuration get applied.
Start SonarQube:
$ /opt/sonarqube/bin/linux-x86-64/sonar.sh start
Access the default page of SonarQube: http://localhost:9000/
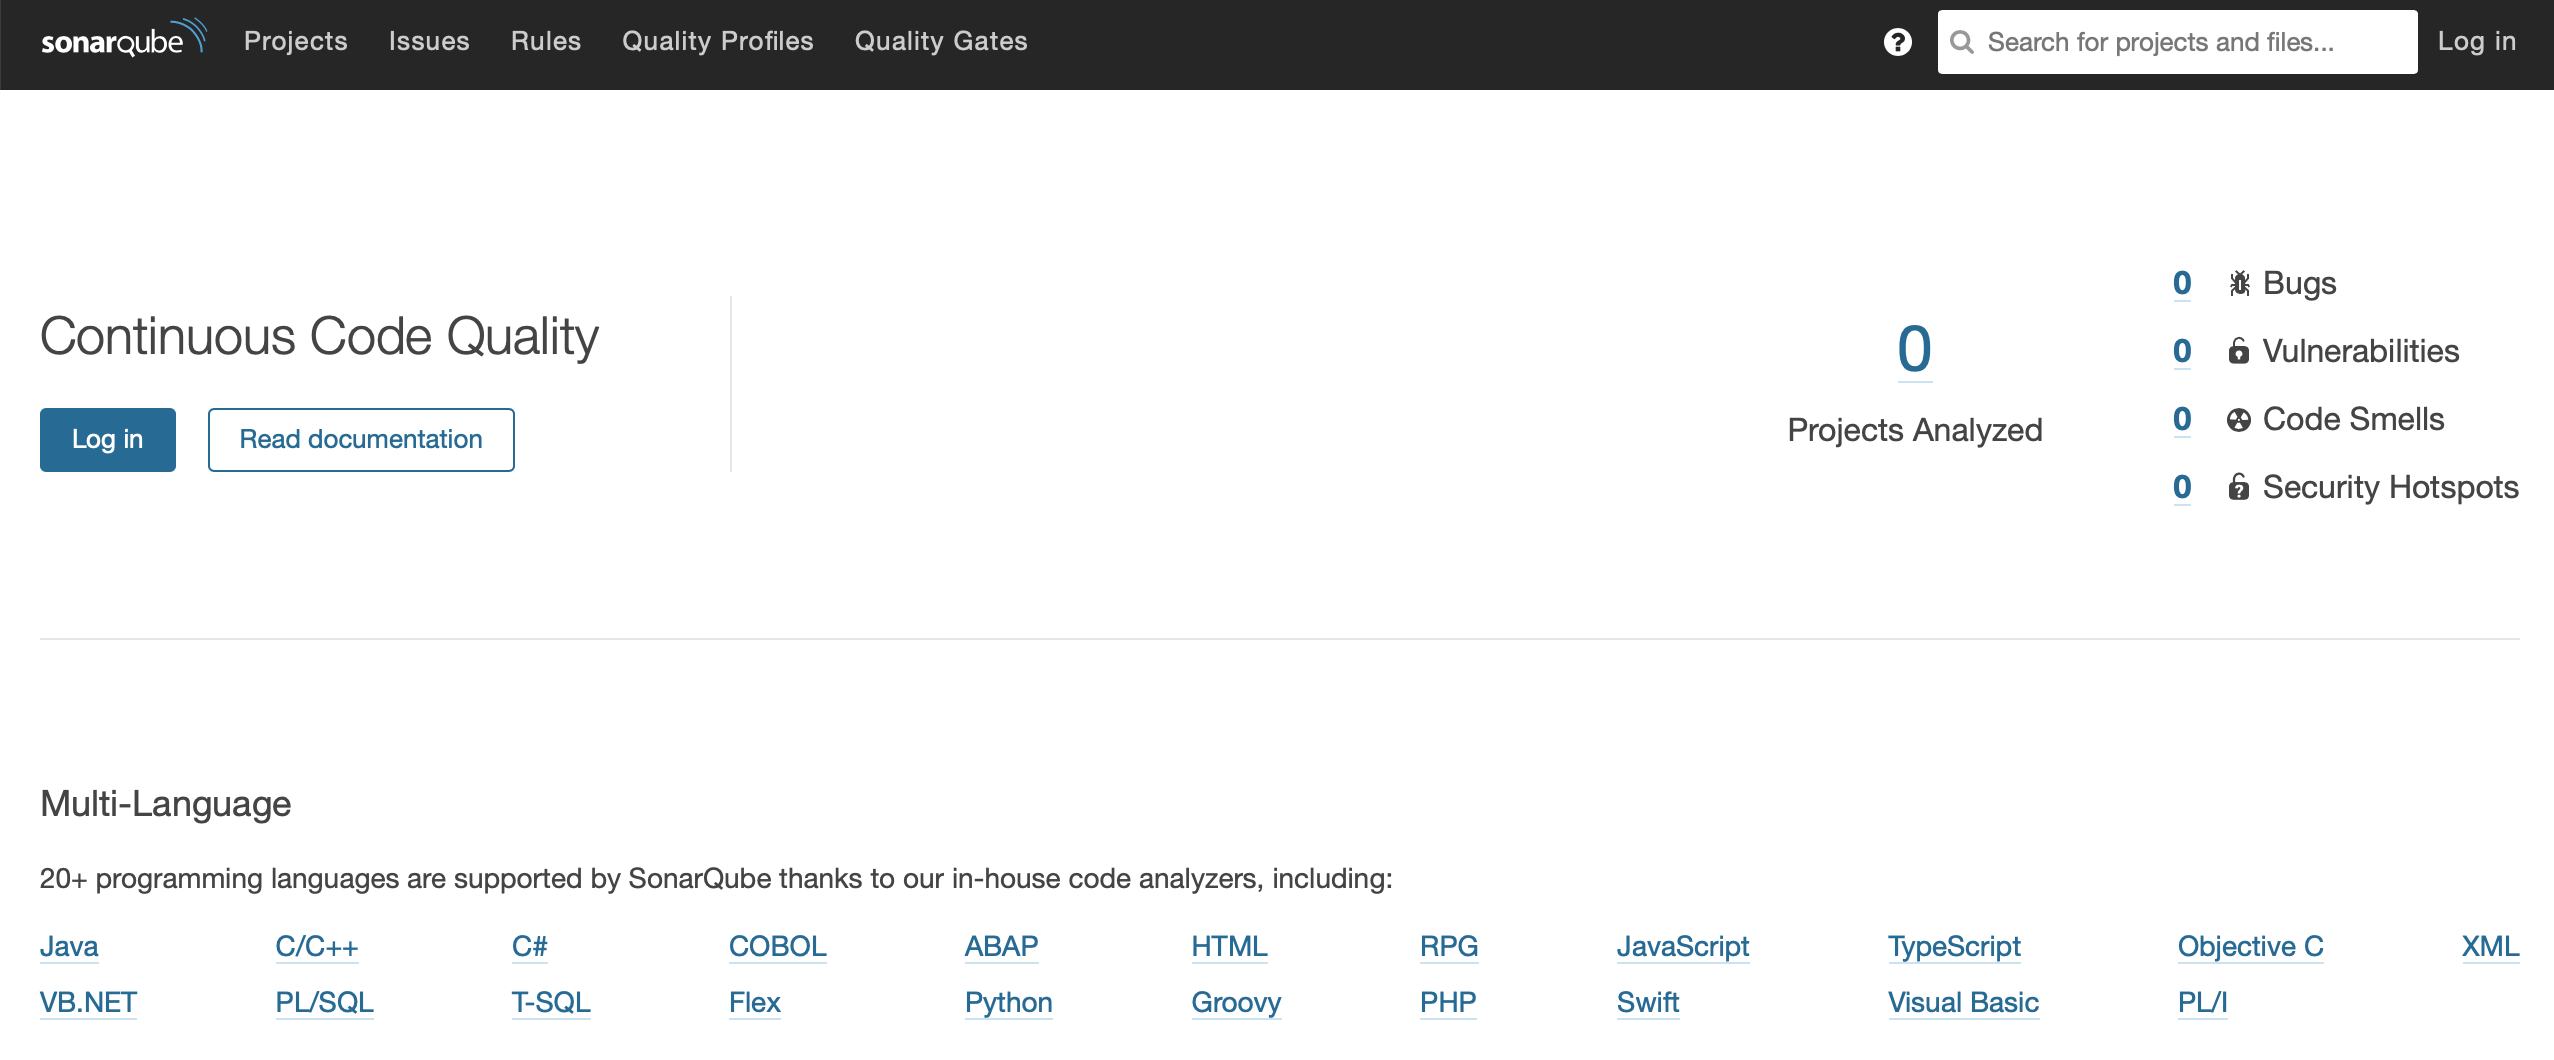
To login to SonarQube, click the "Log in" file and enter:
Login: admin
Password: admin
Note that SonarQube is using an embedded database.
Other SonarQube commands:
Usage: /opt/sonarqube/bin/linux-x86-64/sonar.sh { console | start | stop | restart | status | dump }
Log directory: "/opt/sonarqube/logs/" -
PostgreSQL configuration
See this page for details on how to install and configure PostgreSQL: Install PostgreSQL Database
Stop SonarQube:
$ /opt/sonarqube/bin/linux-x86-64/sonar.sh stop
Create a PostgreSQL database named "sonar" and a user named "sonar":
CREATE ROLE sonar WITH LOGIN PASSWORD 'sonar';
CREATE DATABASE sonar OWNER sonar;
GRANT ALL ON DATABASE sonar TO sonar;
Add or uncomment and modify the following configuration in the "/opt/sonarqube/conf/sonar.properties" file:
$ vi /opt/sonarqube/conf/sonar.properties
sonar.jdbc.url=jdbc:postgresql://localhost/sonar
Start SonarQube:
$ /opt/sonarqube/bin/linux-x86-64/sonar.sh start
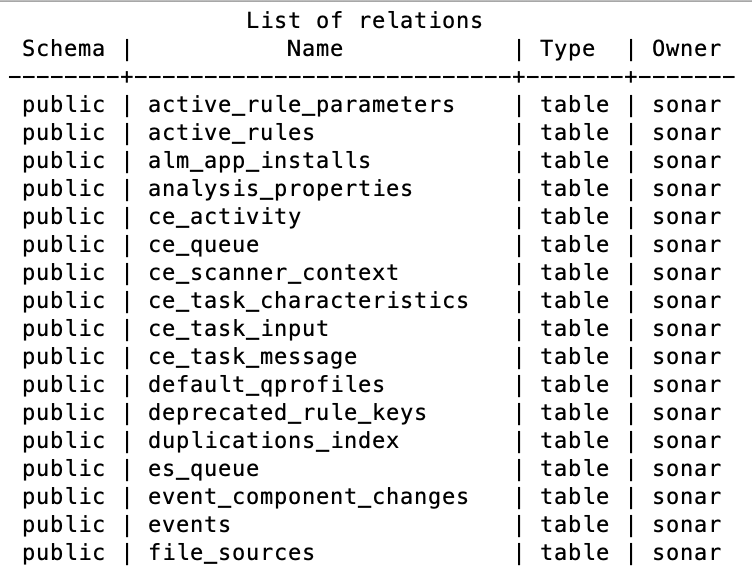
SonarQube will create the PostgreSQL schema:
Note that you might get an error, when starting SonarQube, complaining about a failure executing a migration step.
The issue is that SonarQube is failing to migrate an existing database so you might have to review the migration steps related to the version you want to upgrade.
But you can also see this error if you have already started SonarQube using the embedded database before configuring PostgreSQL, in this case, if you don't care about this embedded database, just delete the content of the folders "temp" and "data" (located under SonarQube installation home folder).
Make sure that SonarQube is not running before deleting the content of these folders.
-
Maven configuration
Add the following configuration to the "
~/.m2/settings.xml" file:
$ vi ~/.m2/settings.xml
<profile>
    <id>sonar</id>

    <activation>
        <activeByDefault>true</activeByDefault>
    </activation>

    <properties>
        <sonar.host.url>http://localhost:9000</sonar.host.url>
    </properties>
</profile>
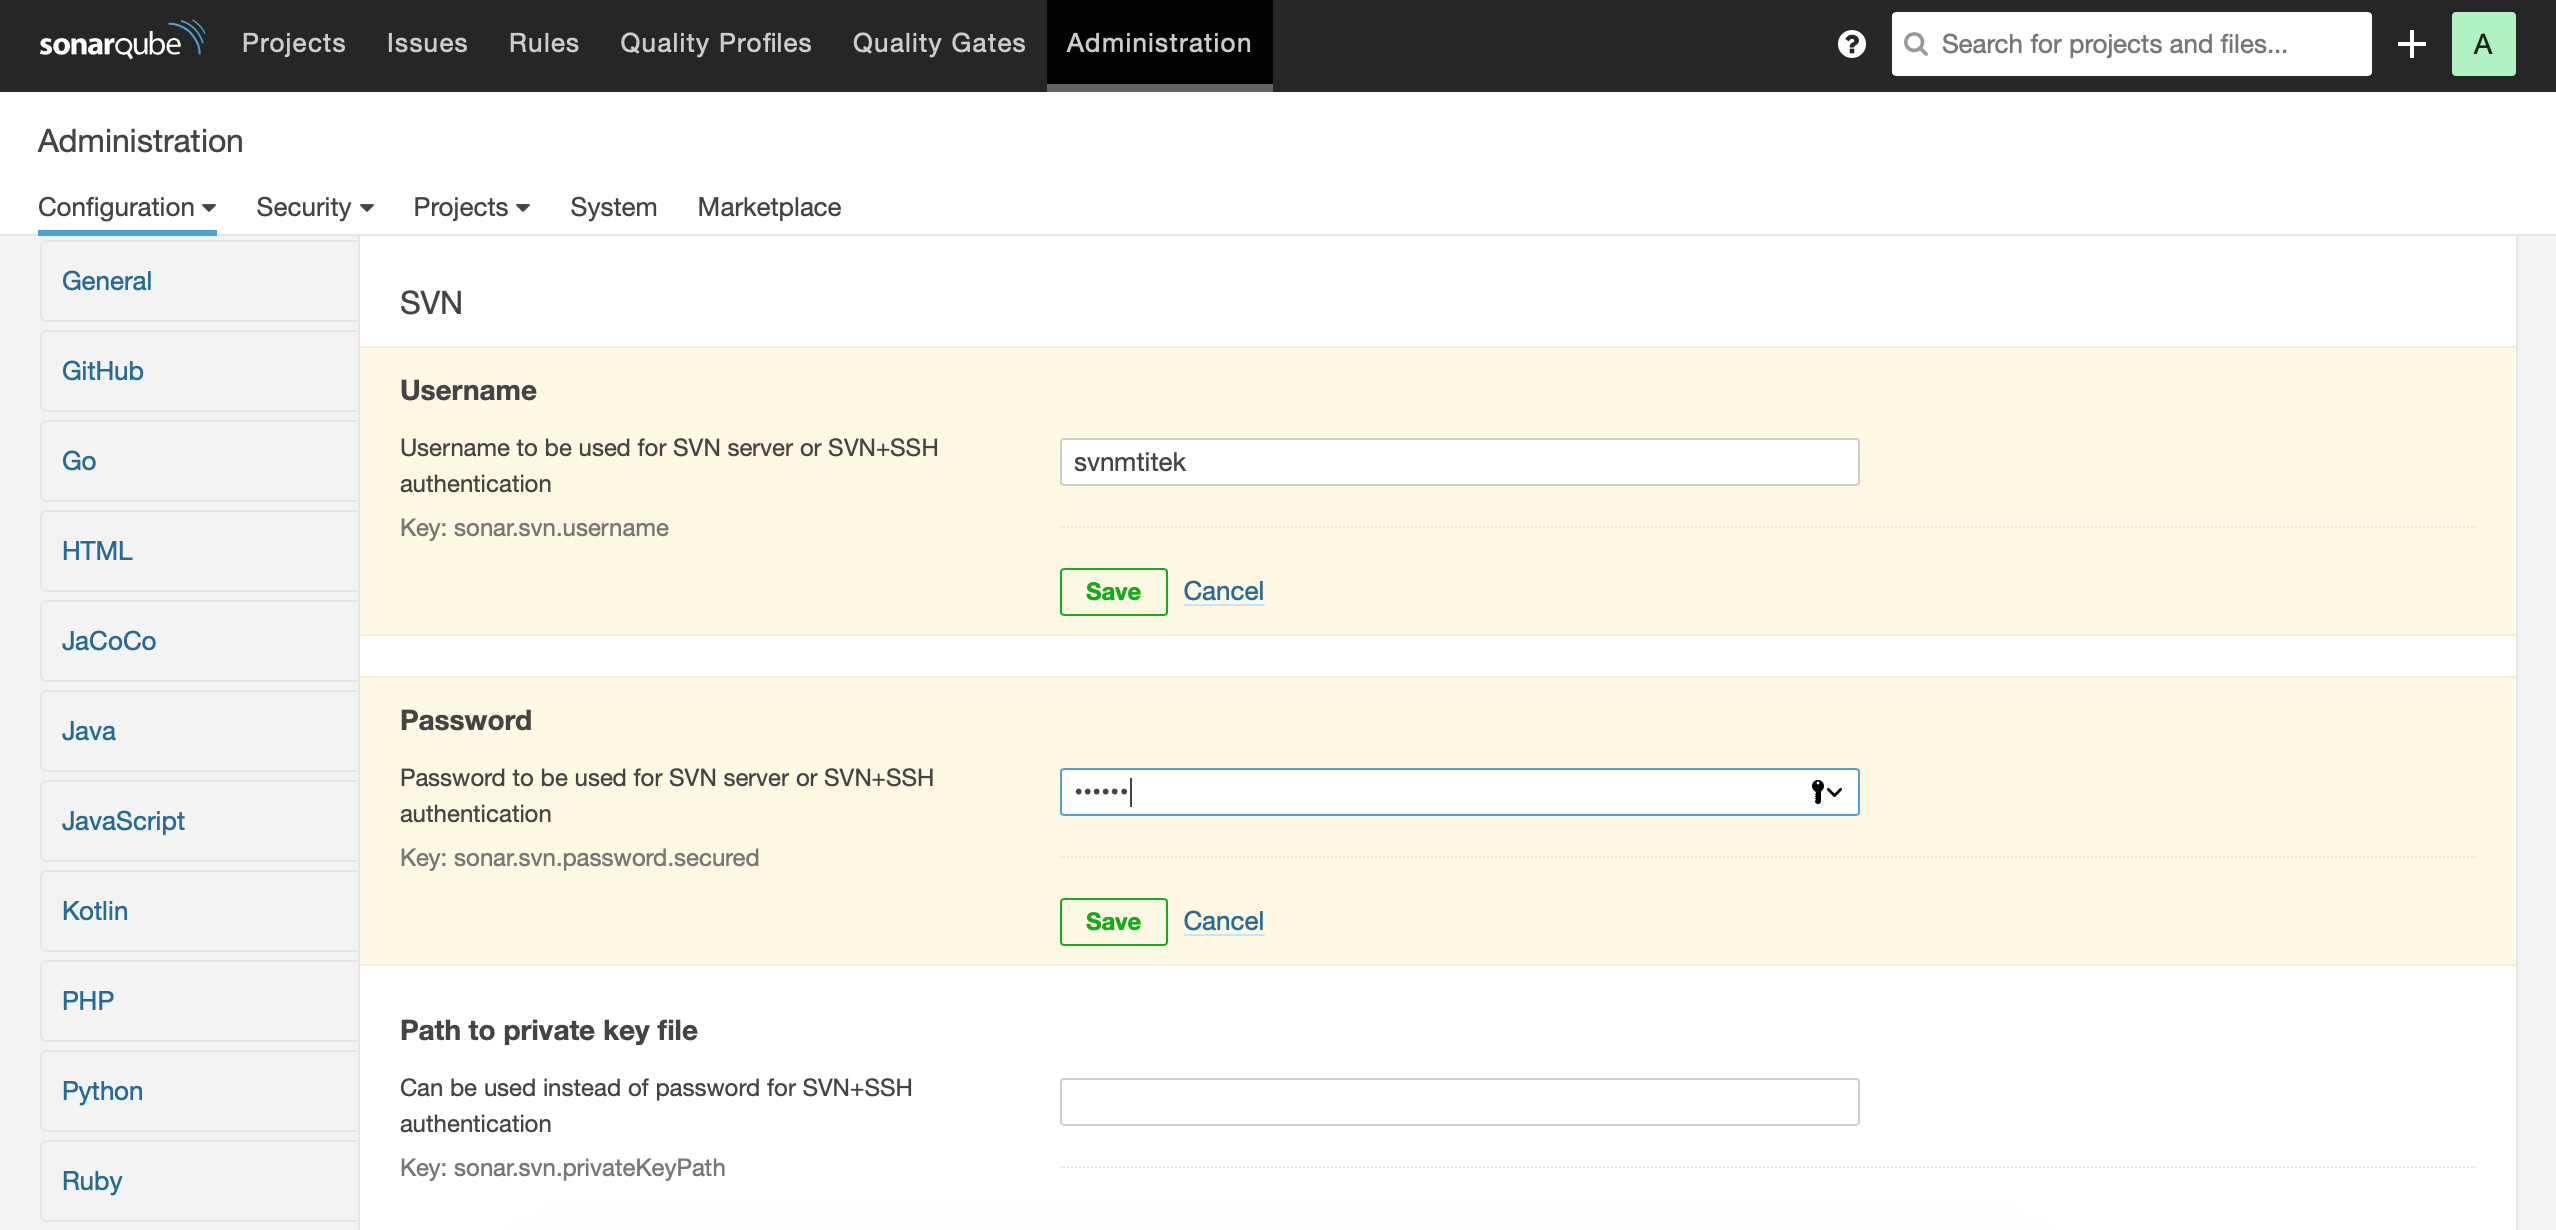
Note that you might need to configure SonarQube and add SVN credentials needed when running Sonar analysis.
You can configure this by accessing this page on the SonarQube server:Administration -> Configuration -> SCM -> SVN
Enter theUsernameandPassword(+ additional properties if required).
See this page for details on how to install and configure Subversion: Install Subversion
-
Run SonarQube analysis
Create a local directory that will hold the maven project:
$ sudo mkdir /data/workspace

$ sudo chmod -R 755 /data/workspace/
$ sudo chown -R mtitek:mtitek /data/workspace/
Run the following command "mvn archetype:generate" to create the maven project:
$ cd /data/workspace/
$ mvn archetype:generate \
-DarchetypeGroupId=org.apache.maven.archetypes \
-DarchetypeArtifactId=maven-archetype-quickstart \
-DarchetypeVersion=1.4 \
-DgroupId=mtitek.sonar.test \
-DartifactId=mtitek-sonar-test-a \
-Dpackage=mtitek.sonar.test \
-Dversion=1.0.0-SNAPSHOT \
-DinteractiveMode=false
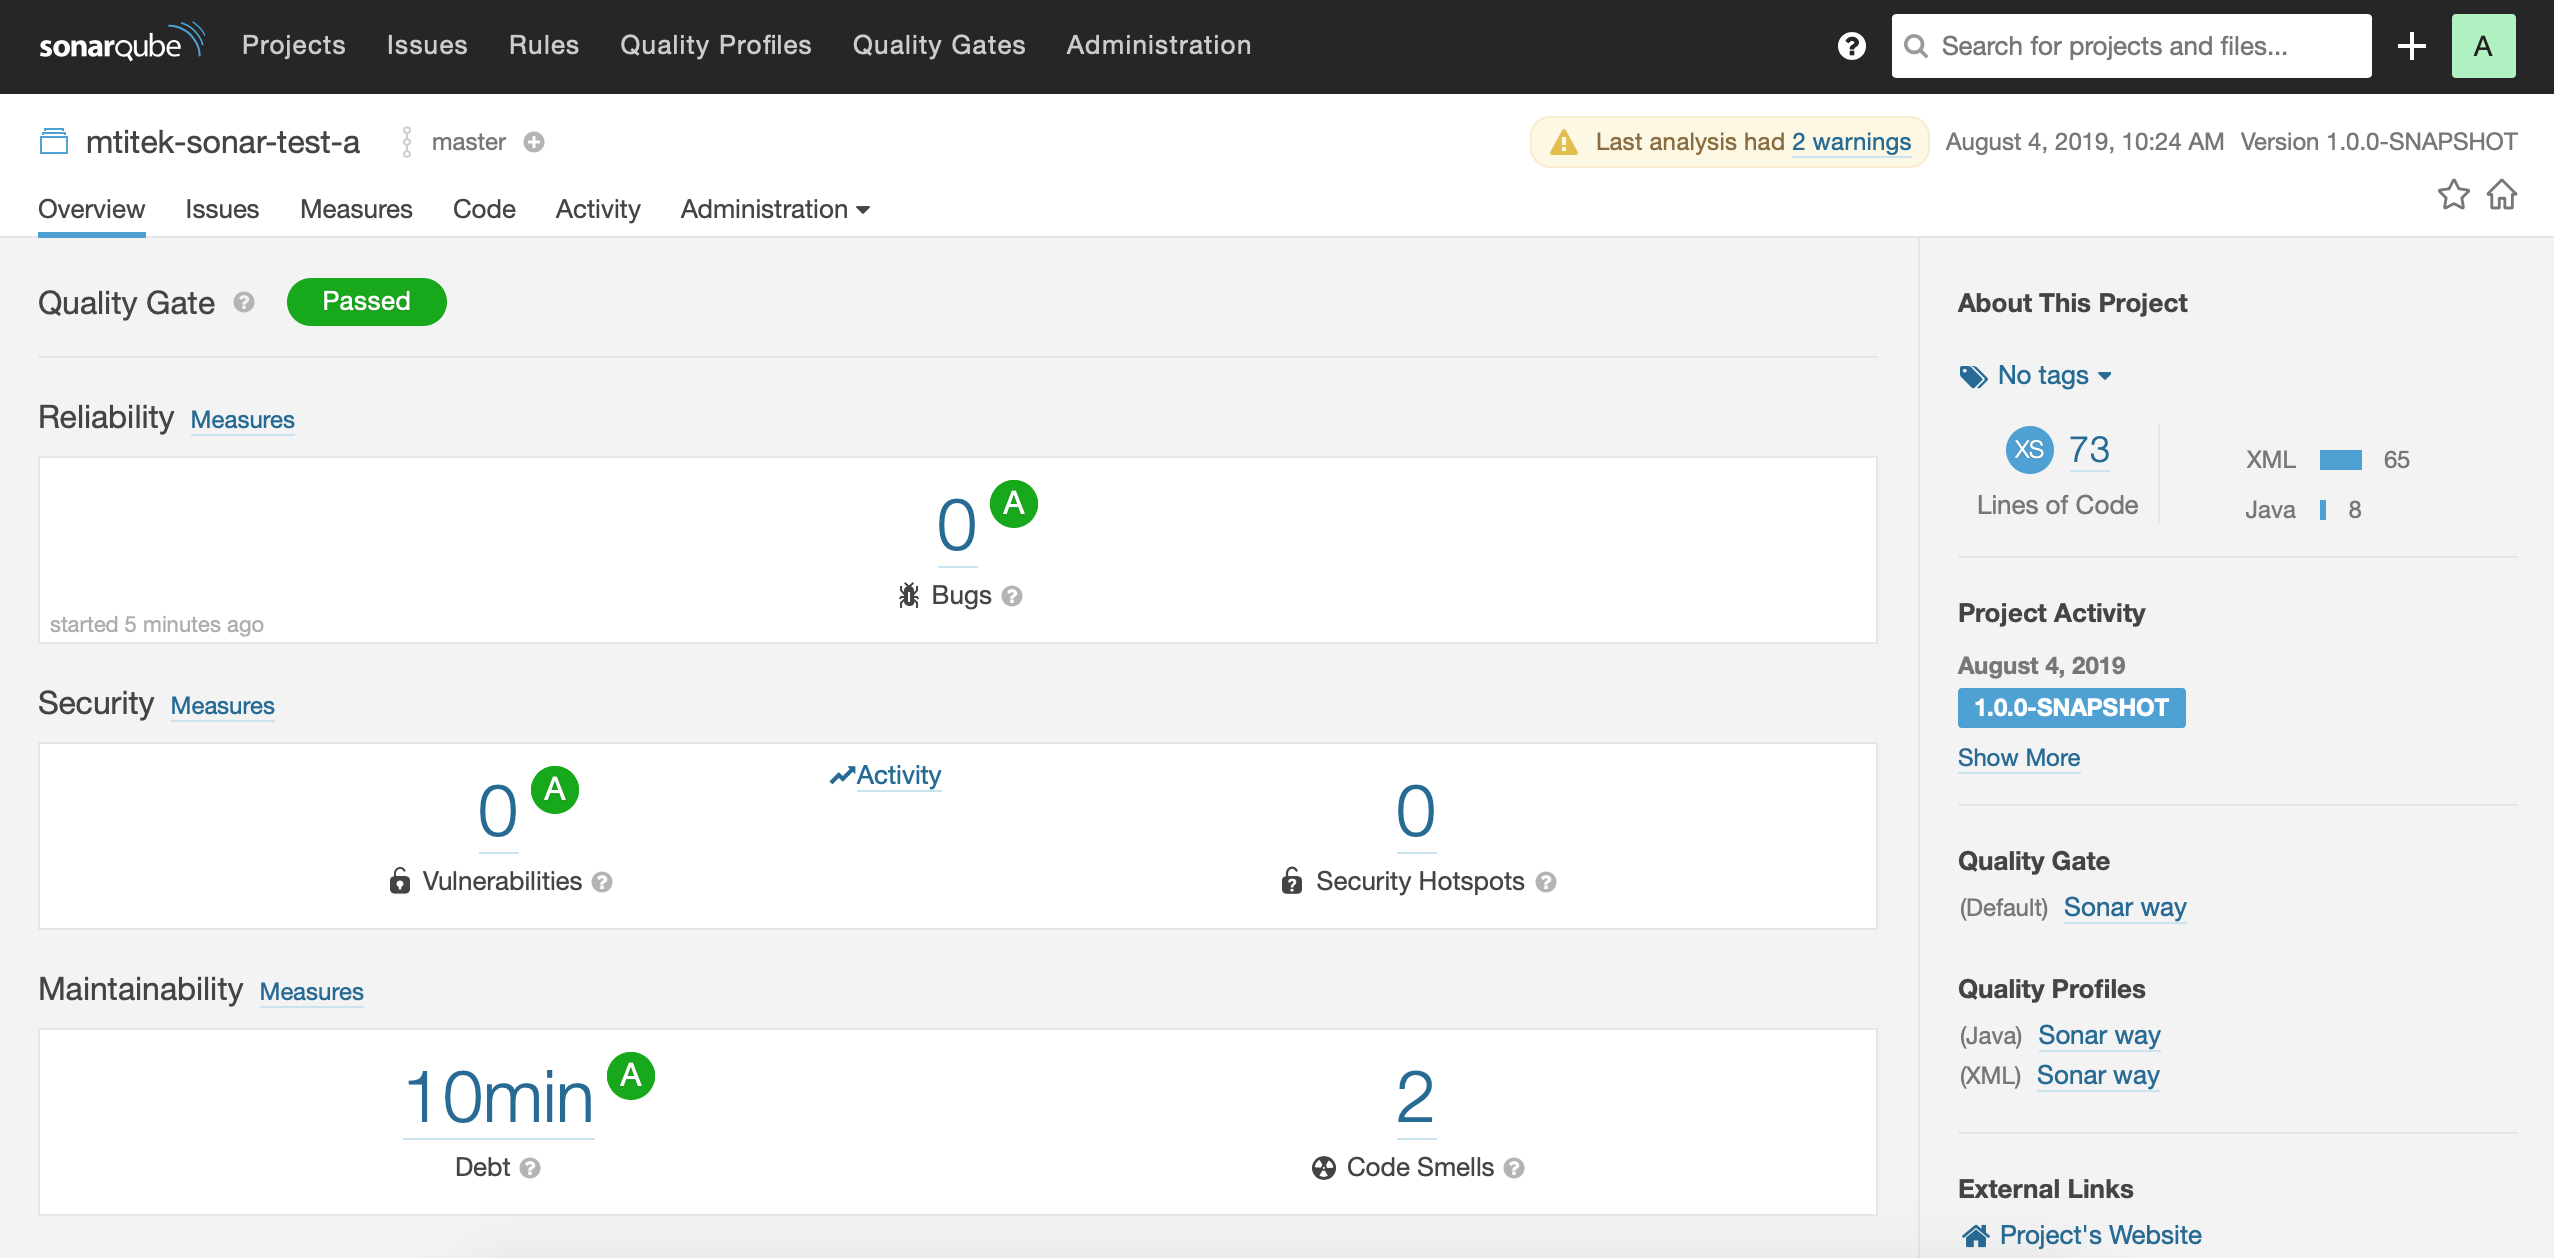
Run SonarQube analysis:
$ cd /data/workspace/mtitek-sonar-test-a
$ mvn sonar:sonar
-
Run local SonarQube analysis
Note that the parameter "
sonar.analysis.mode" was deprecated.
If you use this parameter you will get this error: The preview mode, along with the 'sonar.analysis.mode' parameter, is no more supported. You should stop using this parameter.
If you are using an old version of SonarQube (where the parameter "sonar.analysis.mode" is supported), you can run a local SonarQube analysis:
$ mvn sonar:sonar -Dsonar.analysis.mode=preview -Dsonar.issuesReport.html.enable=true
...
[INFO] HTML Issues Report generated: /data/workspace/mtitek-svn-test-a/target/sonar/issues-report/issues-report.html
[INFO] Light HTML Issues Report generated: /data/workspace/mtitek-svn-test-a/target/sonar/issues-report/issues-report-light.html
...
Open the two files "issues-report.html" and "issues-report-light.html" in a browser to see the SonarQube Issues Report. -
Install plugins
Connect to the Administration page.
Click the "Log In" link and provide the login and password (login=admin,password=admin)
Click the "Administration" link.
Click the "Marketplace" link.

Select/search the plugin you want to install.
For example you may be interested in installing the following plugins:
Checkstyle: Provide Checkstyle rules for Java projectsFindbugs: Provide Findbugs rules for analysis of Java projectsSonarXML: Enables scanning of XML files
Restart SonarQube to complete the installation of the plugins (you can restart it directly from the SonarQube UI).
You can find the installed plugins in this folder: "/opt/sonarqube/extensions/plugins/"